Why Go DIY with Your Chick Feed?
Have you ever wondered what’s really going into your baby chicks’ feed? When I first started raising backyard chickens, I was shocked to discover the long list of additives, medications, and fillers in commercial starter feeds. That’s when I decided to take control and learn how to make my own chick feed DIY recipes.
The appeal of making homemade chick feed goes far beyond just knowing what’s in their food. You’ll save significant money, especially if you’re raising larger flocks. With DIY chick feed, you control every ingredient – choosing organic grains, avoiding GMOs, and eliminating unnecessary medications or artificial colors.
But here’s what really sold me: you can tailor nutrition to your chicks’ specific needs while embracing true self-sufficiency. Whether you’re dealing with particularly active breeds that need extra protein or you want to support optimal growth during those crucial first weeks, homemade chick feed gives you complete control.
This comprehensive guide will walk you through everything you need to know about creating nutritious, cost-effective chick feed DIY recipes. We’ll cover the nutritional science, provide multiple age-specific recipes, break down costs, and troubleshoot common issues. By the end, you’ll have everything needed to confidently make your own chick feed.
Table of Contents
The Nutritional Science Behind Chick Feed
Creating effective DIY chick feed requires understanding what growing chicks actually need. Unlike adult chickens, baby chicks have intense nutritional requirements that change rapidly as they develop.
Essential Macronutrients
Protein is absolutely crucial for your chicks’ growth and feather development. Starter feeds should contain 18-22% protein, while grower feeds need 16-18%. Quality protein sources for homemade chick feed include soybean meal, fish meal, alfalfa meal, and even black soldier fly larvae (BSFL) – an excellent natural option.
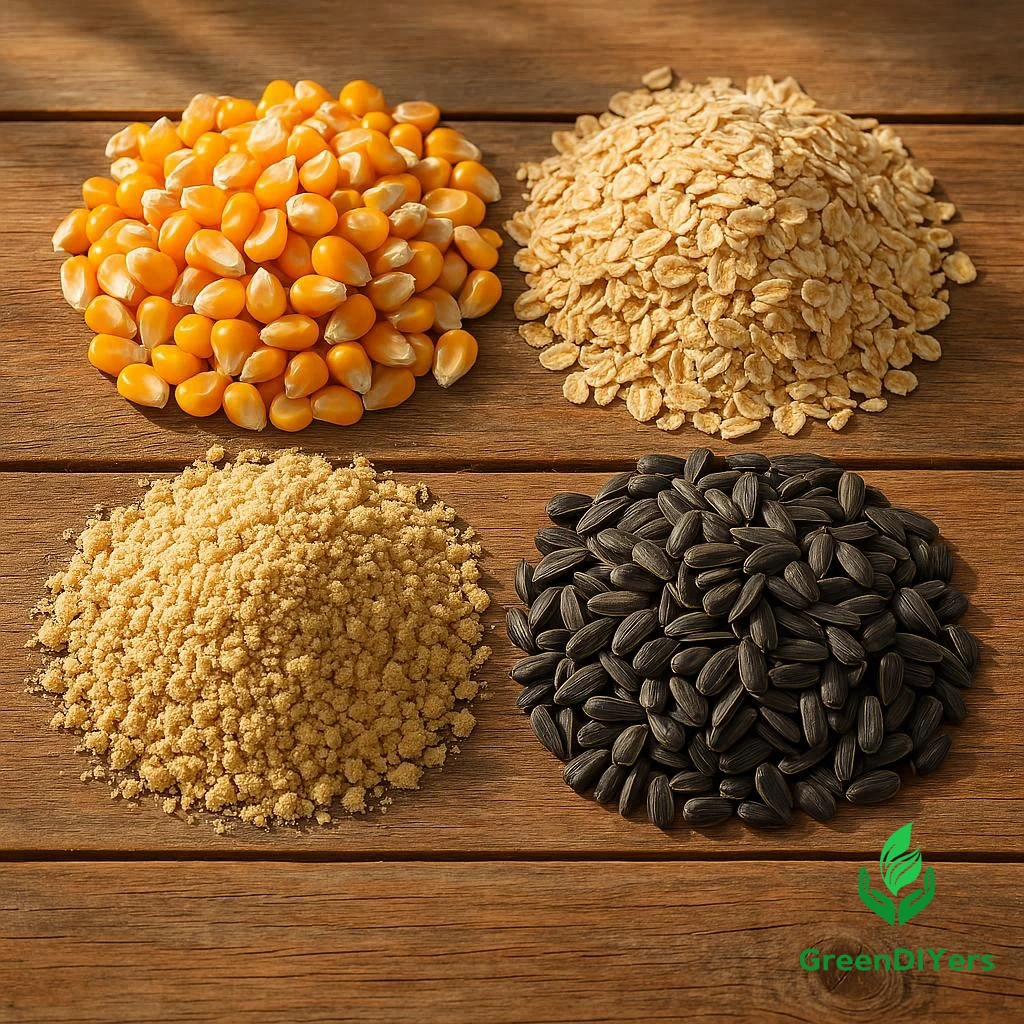
Carbohydrates provide the energy fuel for rapid growth. Corn, oats, barley, and wheat form the foundation of most chick feed DIY recipes. These grains should make up about 50-60% of your mix.
Fats are essential for energy and vitamin absorption. Ground flaxseed and hulled sunflower seeds are excellent sources that also provide beneficial omega-3 fatty acids.
Critical Micronutrients
This is where many homemade recipes fall short. Calcium and phosphorus support bone development and future eggshell quality. The B-vitamin complex supports nervous system development, while vitamins A, D, and E boost immune function.
Trace minerals like zinc, manganese, copper, and selenium enable proper enzymatic functions and disease resistance. This is why I strongly recommend using a quality poultry mineral/vitamin premix – it’s your insurance policy against nutritional deficiencies.
Fiber supports digestive health, though young chicks need minimal amounts. As they grow, gradually increasing fiber helps develop their digestive systems.
Age-Specific Nutritional Needs
Chick nutritional requirements change dramatically:
- 0-8 weeks (Starter): 18-22% protein, higher fat content
- 8-20 weeks (Grower): 16-18% protein, increased carbohydrates
- 20+ weeks (Layer prep): Transitioning to layer nutrition
Understanding these changes ensures your DIY chick feed supports optimal growth at every stage.
Essential Ingredients for Homemade Chick Feed
Creating quality chick feed DIY recipes starts with sourcing the right ingredients. Here’s your comprehensive shopping list:
Core Grains
- Cracked corn: Energy-dense foundation grain
- Rolled oats: Easily digestible, finely ground for young chicks
- Wheat: Whole or cracked, provides protein and energy
- Barley: Optional addition for variety
Protein Powerhouses
- Soybean meal: The gold standard protein source (choose organic, non-GMO)
- Fish meal: High-quality protein from sustainable sources
- Alfalfa meal: Plant-based protein with natural vitamins
- Ground peas or lentils: Excellent alternative protein sources
- Black soldier fly larvae: Natural, sustainable, and chicks love them!
Healthy Fats
- Ground flaxseed: Omega-3 rich superfood
- Hulled sunflower seeds: Easy to digest when ground
Essential Supplements
- Poultry vitamin/mineral premix: Non-negotiable for complete nutrition
- Food-grade diatomaceous earth: Natural parasite prevention
- Kelp meal: Trace minerals from the sea
- Brewer’s yeast: B-vitamin powerhouse
- Probiotics: Support healthy gut development
Equipment You’ll Need
- Grain mill or high-powered blender
- Large mixing containers
- Digital scale for accurate measurements
- Storage containers with tight-fitting lids
DIY Chick Feed Recipes – Age-Specific & Specialized
Now for the recipes you’ve been waiting for! These homemade chick feed formulations are based on years of experience and nutritional research.

Recipe 1: Basic Starter Mix (0-8 Weeks)
Goal: 20% protein, balanced nutrition for rapid growth
Ingredients:
- 40% Cracked corn (finely ground)
- 25% Soybean meal
- 15% Ground oats
- 10% Wheat (finely cracked)
- 5% Alfalfa meal
- 3% Ground flaxseed
- 2% Poultry vitamin/mineral premix
Instructions:
- Grind all grains to appropriate size (think coarse cornmeal consistency)
- Mix dry ingredients thoroughly in large container
- Store in airtight containers
- This recipe yields approximately 19-21% protein
Recipe 2: Organic Soy-Free Starter (0-8 Weeks)
Goal: High-quality protein without soy
Ingredients:
- 35% Cracked corn (finely ground)
- 20% Fish meal
- 15% Ground peas
- 12% Ground oats
- 8% Alfalfa meal
- 5% BSFL (if available)
- 3% Ground sunflower seeds
- 2% Poultry vitamin/mineral premix
This chick feed DIY alternative works wonderfully for those avoiding soy products.
Recipe 3: Grower Feed (8-20 Weeks)
Goal: 17% protein, supporting continued growth
Ingredients:
- 45% Cracked corn
- 20% Soybean meal
- 15% Wheat
- 10% Oats
- 5% Alfalfa meal
- 3% Ground flaxseed
- 2% Poultry vitamin/mineral premix
Recipe 4: Emergency Supplemental Feed
When you’re short on ingredients, this basic homemade chick feed can get you through:
- Scrambled eggs (cooled)
- Finely ground oatmeal
- Chopped hard-boiled eggs
- Finely chopped greens
Important: This is temporary only – not nutritionally complete for long-term feeding.
Mixing Tips for Success
- Grind appropriately: Young chicks need fine crumbles, not whole grains
- Mix thoroughly: Uneven distribution means unbalanced nutrition
- Adjust gradually: Small recipe modifications are fine
- Consider fermentation: Soaking your DIY chick feed for 12-24 hours improves digestibility
Cost Analysis & Real Savings
One of the biggest advantages of chick feed DIY is the potential for significant savings, especially with larger flocks.
Cost Breakdown Comparison
Commercial Starter Feed: $18-25 per 50-pound bag Homemade Equivalent: $12-18 per 50-pound batch (when buying ingredients in bulk)
Potential Savings: 25-40% on feed costs
Factors Affecting Your Costs
- Local ingredient availability and pricing
- Seasonal price variations (corn is cheaper post-harvest)
- Bulk purchasing power
- Quality level of ingredients chosen
Hidden Costs to Consider
- Initial equipment investment ($50-150)
- Time for mixing and preparation (30-60 minutes per batch)
- Storage container costs
The Breakeven Point
For most backyard chicken keepers, homemade chick feed becomes economical when:
- Raising 20+ chicks annually
- Feeding for the full starter/grower period (20 weeks)
- Access to reasonably priced bulk ingredients
Safety, Storage, and Best Practices
Creating safe DIY chick feed requires attention to quality and storage practices.
Food Safety Essentials
- Source ingredients from reputable suppliers
- Inspect all grains for mold, unusual odors, or pest damage
- Never use rancid or spoiled ingredients
- Keep mixing areas clean and sanitized
Proper Storage Techniques
- Airtight containers: Metal cans or food-grade buckets with tight lids
- Cool, dry locations: Basements or pantries work well
- First in, first out: Use older batches before newer ones
- Shelf life: Use homemade chick feed within 2-3 months maximum
Rodent and Pest Control
- Elevate storage containers off floors
- Use metal containers when possible
- Check regularly for signs of intrusion
- Consider food-grade diatomaceous earth around storage areas
Feed Transition Tips
When switching to your chick feed DIY recipe:
- Mix 75% old feed with 25% new feed for 3-4 days
- Gradually increase new feed ratio
- Complete transition over 10-14 days
- Monitor chicks closely during transition
Troubleshooting Common DIY Chick Feed Issues
Even the best homemade chick feed can sometimes cause concerns. Here’s how to address common issues:
“My chicks aren’t growing well”
Possible causes: Insufficient protein, missing vitamins/minerals, poor ingredient quality Solutions: Verify protein percentage, ensure vitamin/mineral premix is fresh, check ingredient sources
“They’re picking through ingredients”
Possible causes: Inconsistent grind size, inadequate mixing Solutions: Grind all ingredients to similar size, mix more thoroughly, consider pelleting
“Digestive issues or loose droppings”
Possible causes: Too much fat, contaminated ingredients, sudden feed changes Solutions: Reduce fat content, check ingredient freshness, slow feed transitions, add probiotics
“Should I provide grit?”
Answer: Yes! Chicks need insoluble grit for proper digestion, especially when eating DIY chick feed. Offer appropriate-sized grit free choice.
“Can I add kitchen scraps?”
Answer: Very limited for young chicks. Small amounts of finely chopped hard-boiled eggs or cooked vegetables are okay after 4 weeks, but should never exceed 5% of total diet.
“When should I transition from starter to grower?”
Answer: Typically around 6-8 weeks, but watch your chicks’ development. They should be fully feathered and showing rapid growth.
The Rewards of Homemade Chick Feed
After years of making chick feed DIY recipes, I can confidently say the benefits extend far beyond cost savings. You’ll raise healthier, more vigorous chicks while gaining invaluable peace of mind about their nutrition.
The knowledge that you’re providing optimal nutrition without unnecessary medications or additives is incredibly satisfying. Plus, the money saved can be invested back into other aspects of your homesteading or chicken-keeping journey.
Your Next Steps: Start with one of our basic recipes, source quality ingredients, and begin your homemade chick feed journey. Monitor your chicks’ health and growth, and don’t hesitate to adjust recipes based on your observations.
Remember, creating quality DIY chick feed is both an art and a science. With these recipes and guidelines, you’re well-equipped to provide excellent nutrition for your growing flock while embracing true self-sufficiency.
Ready to give your chicks the best possible start in life? Download our printable recipe cards and begin your homemade feeding adventure today!