Are you tired of scrolling through Pinterest, dreaming of the perfect diy chicken coop but never actually taking action? I get it. I spent months bookmarking beautiful coop photos, only to realize most posts were all inspiration and zero instruction.
That’s exactly why I created this comprehensive guide. As someone who’s built over a dozen coops (and made every mistake in the book), I’m sharing everything you need to turn those dreams into reality. This isn’t just another pretty picture gallery – it’s your complete roadmap to building a functional, beautiful, and budget-friendly diy chicken coop.
Here’s what you’ll discover: free downloadable plans, material lists, step-by-step instructions, and pro tips that’ll save you time, money, and frustration. Whether you’re housing three hens or thirty, I’ve got plans that’ll work for your space and budget.
Table of Contents
Why DIY? Benefits & Key Considerations
Building your own chicken coop isn’t just about saving money (though you’ll save hundreds compared to pre-built options). It’s about creating something perfectly tailored to your flock’s needs and your backyard’s unique challenges.
The biggest benefits I’ve seen:
- Cost savings: Build a $800 coop for under $200
- Perfect fit: Custom size for your exact space and flock
- Learning experience: Skills you’ll use on future projects
- Quality control: You choose every material and joint
But here’s the thing – understanding your chickens’ needs comes first. Each bird needs 4 square feet inside the coop and 10 square feet in the run. This isn’t just a suggestion; cramped birds are stressed birds, and stressed birds don’t lay eggs.
Before You Build: Essential Foundations (The “Why” Behind Design)
Let me share the most expensive lesson I learned: skipping the planning phase. My first diy chicken coop looked great but failed miserably because I didn’t understand the fundamentals.
Space requirements matter more than aesthetics. Plan for 4 square feet per bird inside, 10 square feet per bird in the outdoor run. Trust me, overcrowding leads to aggression, poor egg production, and health issues.
Ventilation is your secret weapon. Poor airflow creates moisture buildup, leading to frostbite in winter and heat stress in summer. Install vents near the roof but not directly over roosts where chickens sleep.
Predator-proofing saves lives. Hardware cloth (not chicken wire!) is non-negotiable. Raccoons can tear through chicken wire like tissue paper. Bury hardware cloth 6 inches deep around the perimeter – predators dig.
Nesting boxes and roosts need specific placement. One nesting box per 4-5 hens, placed lower than roosts. Chickens prefer sleeping on the highest available perch, so you don’t want them roosting in nesting boxes.
Consider your climate and local ordinances early. Some areas restrict coop placement, height, or flock size. Check before you build, not after you’re halfway done.
Choosing Your Perfect DIY Chicken Coop Plan
Not all coops are created equal, and the perfect plan depends on your specific situation. Ask yourself these key questions:
How many chickens are you planning? This determines your minimum size requirements.
What’s your budget? Plans range from under $100 for basic coops to $400+ for premium builds.
What’s your skill level? Be honest – some plans require advanced woodworking skills.
What’s your climate like? Cold climates need more insulation; hot climates need maximum ventilation.
I’ve organized the plans below by skill level and budget to help you find your perfect match.
Featured DIY Chicken Coop Plans
Plan 1: “The Starter Special” – Perfect for Beginners (Under $150)
Best for: 3-4 hens, beginner builders, tight budgets
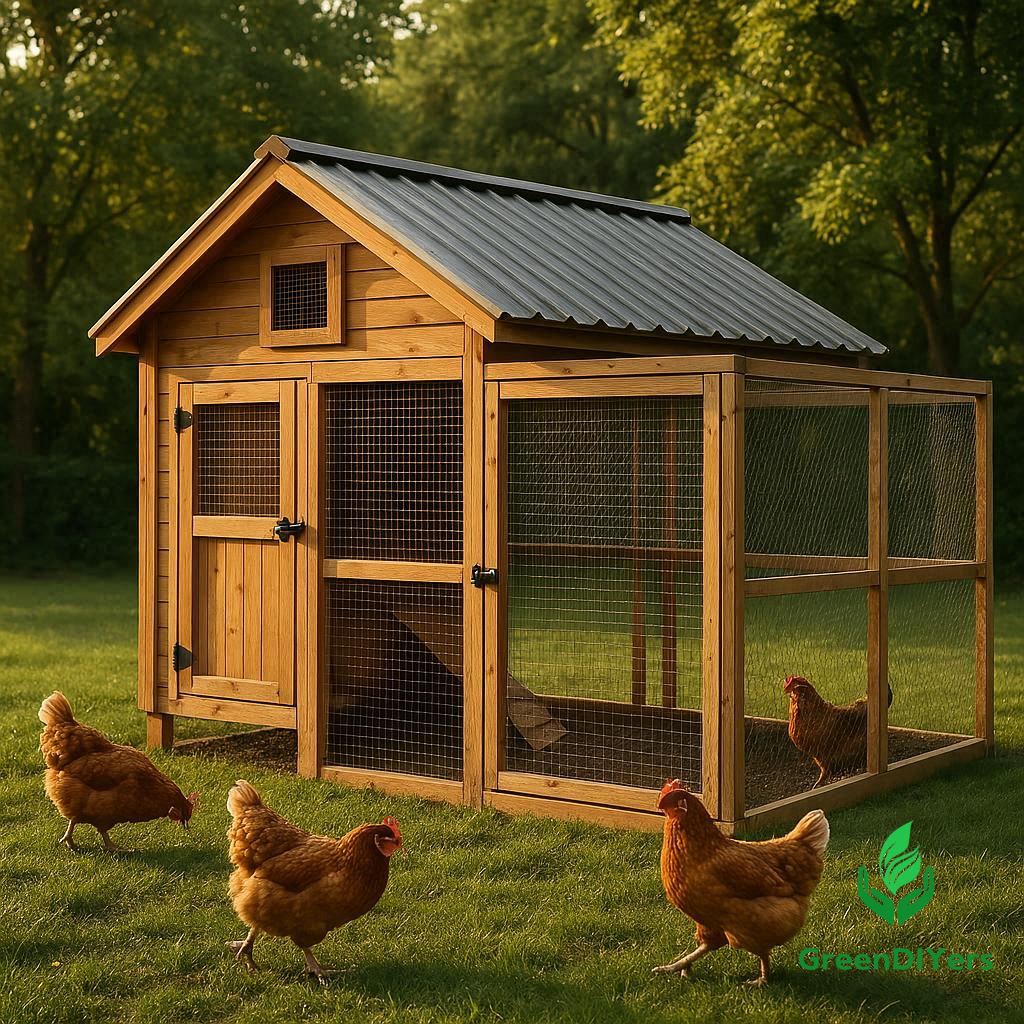
This simple A-frame design requires minimal tools and can be built in a weekend. The slanted roof provides excellent rain runoff, and the elevated design keeps your birds dry and predators out.
Key Features:
- 4×8 footprint houses up to 4 hens comfortably
- Integrated nesting box accessible from outside
- Removable roosting bar for easy cleaning
- Hardware cloth flooring prevents digging predators
Estimated Build Time: 8-10 hours over 2 days
Essential Materials:
- Pressure-treated 2x4s for frame
- 1/2″ hardware cloth (not chicken wire!)
- Plywood for walls and nesting box
- Metal roofing or shingles
- Hinges and latches for doors
Pro Tips for This Plan: Use construction adhesive in addition to screws for stronger joints. Pre-drill all holes to prevent splitting. Paint or stain before assembly for better coverage.
Plan 2: “The Suburban Classic” – Intermediate Build ($200-300)
Best for: 6-8 hens, moderate skill level, permanent installation
This traditional rectangular coop offers more headroom for maintenance and includes separate nesting and roosting areas. The design includes a covered run attachment.
Key Features:
- Walk-in height for easy maintenance
- Separate nesting area with external access
- Integrated covered run
- Windows for natural light and ventilation
- Easy-clean removable droppings board
Estimated Build Time: 12-15 hours over 3 days
Essential Materials:
- Pressure-treated lumber for frame
- T1-11 siding for durability
- Metal or composite roofing
- Windows (salvaged or new)
- Hardware cloth and chicken wire
Plan 3: “The Homesteader’s Dream” – Advanced Build ($350-500)
Best for: 12+ hens, experienced builders, long-term investment
This premium design includes automatic door systems, integrated feeders, and maximum weather protection. It’s built to last decades with minimal maintenance.
Key Features:
- Insulated walls for extreme climates
- Automatic coop door system
- Built-in feeder and waterer systems
- Large covered run with multiple access points
- Easy-access cleanout system
Estimated Build Time: 20-25 hours over multiple weekends
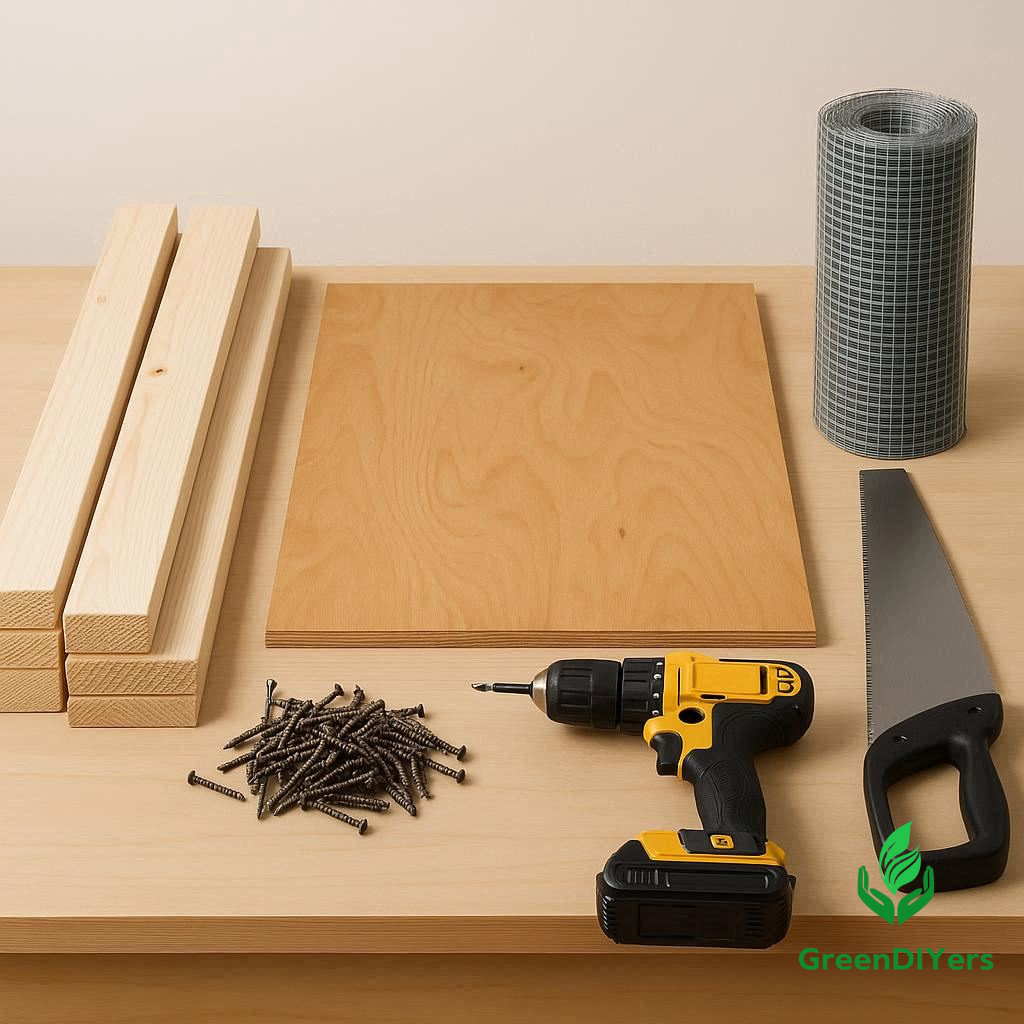
Essential Tools & Materials for Any Coop Project
Basic Tool Kit (Required for Any Plan):
- Circular saw or miter saw
- Drill with bits
- Level
- Tape measure
- Square
- Safety glasses and hearing protection
Advanced Tools (Make Life Easier):
- Table saw for precise cuts
- Pneumatic nailer for faster assembly
- Router for smooth edges
- Clamps for glue-ups
Understanding Materials: Pressure-treated lumber resists rot but costs more. Cedar naturally repels insects but requires regular maintenance. Hardware cloth comes in various gauges – 1/2″ or 1/4″ mesh works best for predator protection.
Finishing Touches & Maintenance
A well-built diy chicken coop needs proper finishing to last years without major repairs.
Paint and seal all wood surfaces. Use exterior-grade paint or stain on all exposed wood. Pay special attention to end grain, which absorbs moisture quickly.
Choose bedding wisely. Pine shavings work well for most climates. Avoid cedar shavings, which can irritate respiratory systems. Deep litter method works great – just add fresh bedding on top and clean completely 2-3 times yearly.
Establish a cleaning schedule. Weekly: refresh bedding, clean waterers. Monthly: deep clean nesting boxes, check for damage. Seasonally: complete cleanout, inspect and repair wear items.
Winterizing and summerizing: Add extra ventilation for summer heat. Insulate or add supplemental heat sources in extreme cold. Never seal up ventilation completely – moisture buildup causes more problems than cold.
DIY Chicken Coop FAQ
Q: How big should my coop be? A: Minimum 4 square feet per bird inside the coop, 10 square feet per bird in the outdoor run. Bigger is always better if you have the space and budget.
Q: Do I need windows? A: Windows aren’t required but provide natural light and ventilation. If you include them, make sure they can open for summer airflow.
Q: What’s the difference between hardware cloth and chicken wire? A: Hardware cloth has smaller, stronger mesh that predators can’t tear or reach through. Chicken wire is only suitable for keeping chickens in, not predators out.
Q: How high should roosts be? A: 18-24 inches off the ground works for most breeds. Heavy breeds prefer lower roosts to prevent injury from jumping down.
Q: Can I use recycled materials? A: Absolutely! Salvaged windows, reclaimed lumber, and repurposed hardware can significantly reduce costs. Just ensure structural integrity and avoid pressure-treated lumber older than 2003 (may contain arsenic).
Community & Support
Building your first diy chicken coop can feel overwhelming, but you’re not alone in this journey. I love seeing readers’ finished projects and helping troubleshoot challenges along the way.
Share photos of your build progress in the comments below. Whether you’re celebrating a successful completion or need advice on a tricky step, this community is here to help.
Consider joining local chicken keeping groups too. Experienced keepers often have extra materials, tools, and most importantly, knowledge they’re happy to share.
Conclusion & Call to Action
You now have everything needed to build an amazing diy chicken coop that’ll keep your flock happy and productive for years. The hardest part is often just getting started, but remember – every expert builder started exactly where you are now.
Choose the plan that matches your skill level and budget. Start with quality materials and take your time with each step. Your chickens (and your future self) will thank you for building it right the first time.
Ready to start building? Download your chosen plan, gather your materials, and begin this rewarding project. I can’t wait to see what you create!
What questions do you have about your diy chicken coop project? Drop them in the comments – I read and respond to every single one.