Have you ever walked into a room and thought, “This space needs something, but I can’t put my finger on what?” More often than not, the answer is floating shelves. These sleek, modern storage solutions seem to defy gravity while adding both function and style to any room.
DIY floating shelves have become the holy grail of home improvement projects – and for good reason. They’re incredibly versatile, surprisingly affordable, and offer that satisfying “I made this myself” feeling that store-bought alternatives simply can’t match.
In this comprehensive guide, I’ll walk you through everything you need to know about creating your own DIY floating shelves. From choosing the right materials to mastering different mounting methods, you’ll discover multiple project plans suitable for beginners to advanced DIYers. Whether you’re looking to add storage to your living room, create a statement wall in your bedroom, or maximize space in a small apartment, this guide has you covered.
Table of Contents
Why DIY Floating Shelves?
Building your own DIY floating shelves offers incredible advantages over buying pre-made options. First, there’s the cost factor – you can create custom shelves for a fraction of what you’d pay at retail stores. I’ve built beautiful DIYfloating shelves for under $20 that would cost $80+ in stores.
Customization is where DIY really shines. Want a shelf that perfectly fits that awkward space between your window and corner? No problem. Need something that matches your existing decor exactly? You’re in control of every detail, from wood type to finish color.
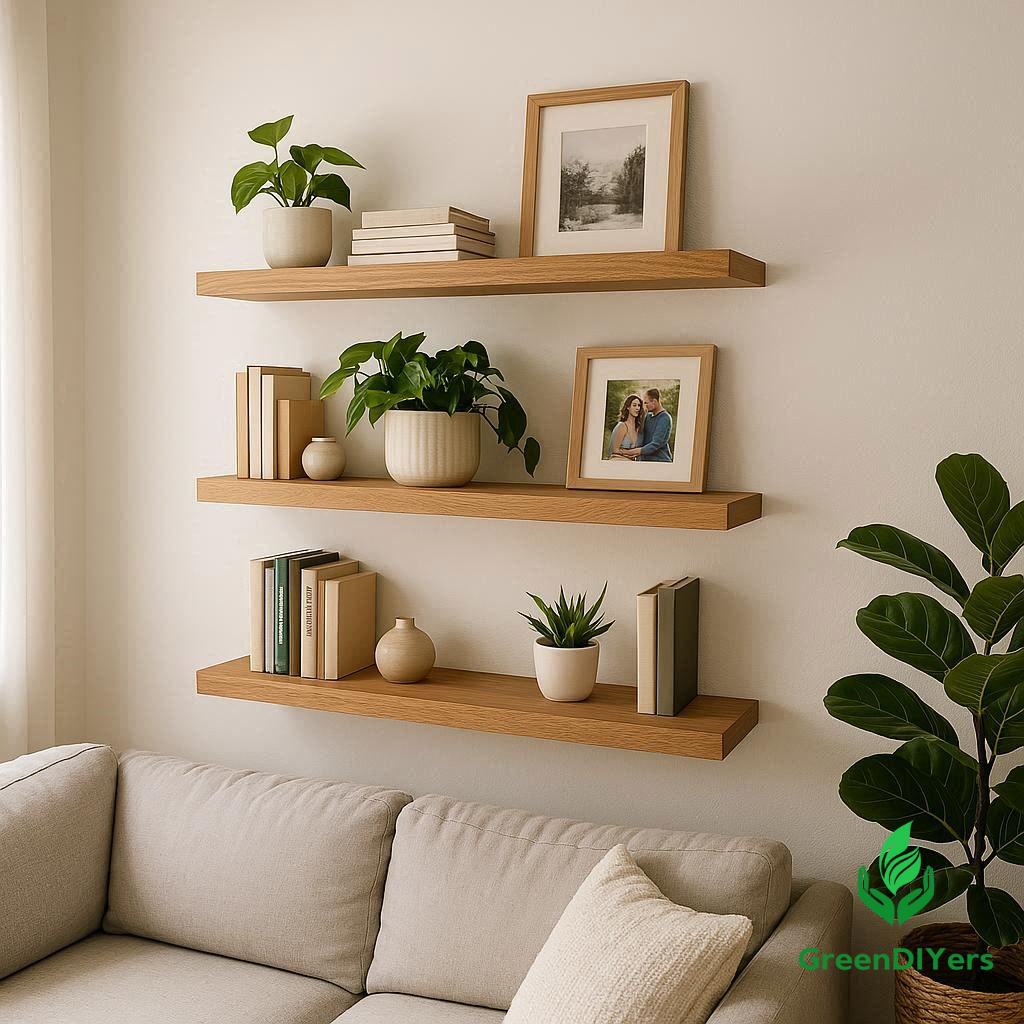
The aesthetic benefits are undeniable too. DIY Floating shelves create clean lines and open up visual space, making rooms feel larger and more organized. They’re perfect for displaying everything from books and plants to family photos and collectibles.
Understanding Floating Shelves: The Basics
So, what exactly makes a shelf “float”? Simply put, DIY floating shelves are mounted to the wall without visible brackets or supports underneath. The mounting hardware is completely hidden, creating the illusion that the shelf is magically suspended in mid-air.
The key components include the shelf itself (your visible wooden board), the mounting system (hidden brackets, rods, or cleats), and the wall anchors that secure everything safely to your wall. The magic happens in how these components work together to create a clean, minimalist look.
Before diving into your first project, you’ll need some basic tools. Essential items include a drill, level, stud finder, measuring tape, and appropriate bits. Depending on your chosen mounting method, you might also need a router, circular saw, or specific bracket systems.

Choosing Your Floating Shelf Style & Material
Materials Breakdown
Solid Wood: The premium choice offering durability, natural beauty, and easy customization. Popular options include pine (budget-friendly), oak (classic and strong), and walnut (elegant but pricier). Solid wood handles weight well and ages beautifully.
Plywood: An excellent middle-ground option that’s stable, affordable, and available in various grades. High-quality plywood can look stunning with proper finishing and offers good strength-to-weight ratios.
MDF: Medium-density fiberboard is the budget champion. It’s incredibly smooth, takes paint beautifully, and won’t show wood grain – perfect for painted finishes. However, it’s heavier than solid wood and doesn’t handle moisture well.
Reclaimed Wood: For those seeking character and sustainability, reclaimed wood offers unique textures, colors, and stories. Each piece is one-of-a-kind, though you’ll need to carefully inspect for stability and treat for pests.
Finishes That Wow
Your finish choice dramatically impacts the final look. Clear polyurethane preserves natural wood beauty while providing protection. Stains enhance wood grain while adding color depth. Paint offers unlimited color options and works especially well with MDF or pine.
Consider your room’s existing elements. Modern spaces often benefit from clear finishes that showcase natural wood, while traditional rooms might call for rich stains. Don’t be afraid to experiment with techniques like distressing for farmhouse styles or sleek lacquers for contemporary looks.
Mounting Methods: How Do They Float?
Hidden Brackets and Rods
This popular method uses metal rods or brackets that slide into routed channels in your shelf. The hardware remains completely invisible once installed, creating that true “floating” effect. It’s reliable, relatively simple, and works well for lighter to medium loads.
French Cleat System
French cleats offer incredible holding power and easy installation. One cleat mounts to the wall, while its matching partner attaches to your shelf. They interlock securely and can support substantial weight – perfect for heavy-duty applications.
Internal Wood Blocking
This traditional method involves mounting a wooden cleat inside a hollow shelf. It’s strong, customizable, and uses readily available materials. The technique works especially well for thicker shelves where you have room to create internal mounting structures.
Heavy-Duty Steel Brackets
For maximum weight capacity, steel bracket systems provide industrial-strength support. While slightly more visible than other methods, modern low-profile brackets offer excellent strength while maintaining clean aesthetics.
Step-by-Step DIY Floating Shelf Project Plans
Ready to get building? Here are six different floating shelf projects, each designed for different skill levels and applications:
Beginner-Friendly Floating Shelf
Perfect for your first project, this simple design uses basic tools and common materials. You’ll learn fundamental techniques while creating functional storage in just a few hours.
Modern Hidden-Bracket Floating Shelf
Step up your game with this sleek design featuring completely invisible mounting. The clean lines and minimalist aesthetic work perfectly in contemporary spaces.
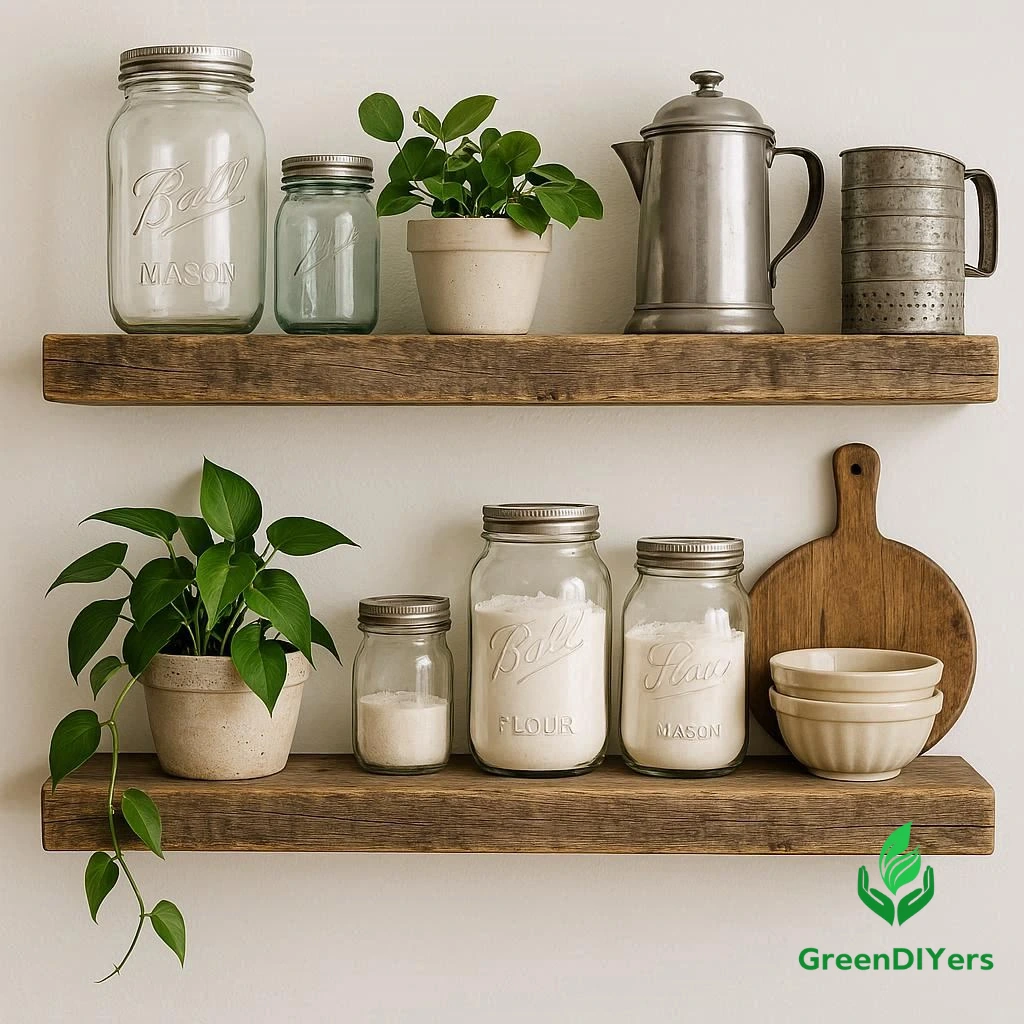
Rustic Farmhouse Floating Shelves
Embrace the farmhouse trend with these character-rich shelves. Learn distressing techniques and achieve that coveted weathered look that adds warmth to any room.
Corner DIY Floating Shelves
Maximize awkward corner spaces with these clever angular shelves. They’re perfect for small bathrooms, tight kitchens, or any space where traditional shelving won’t fit.
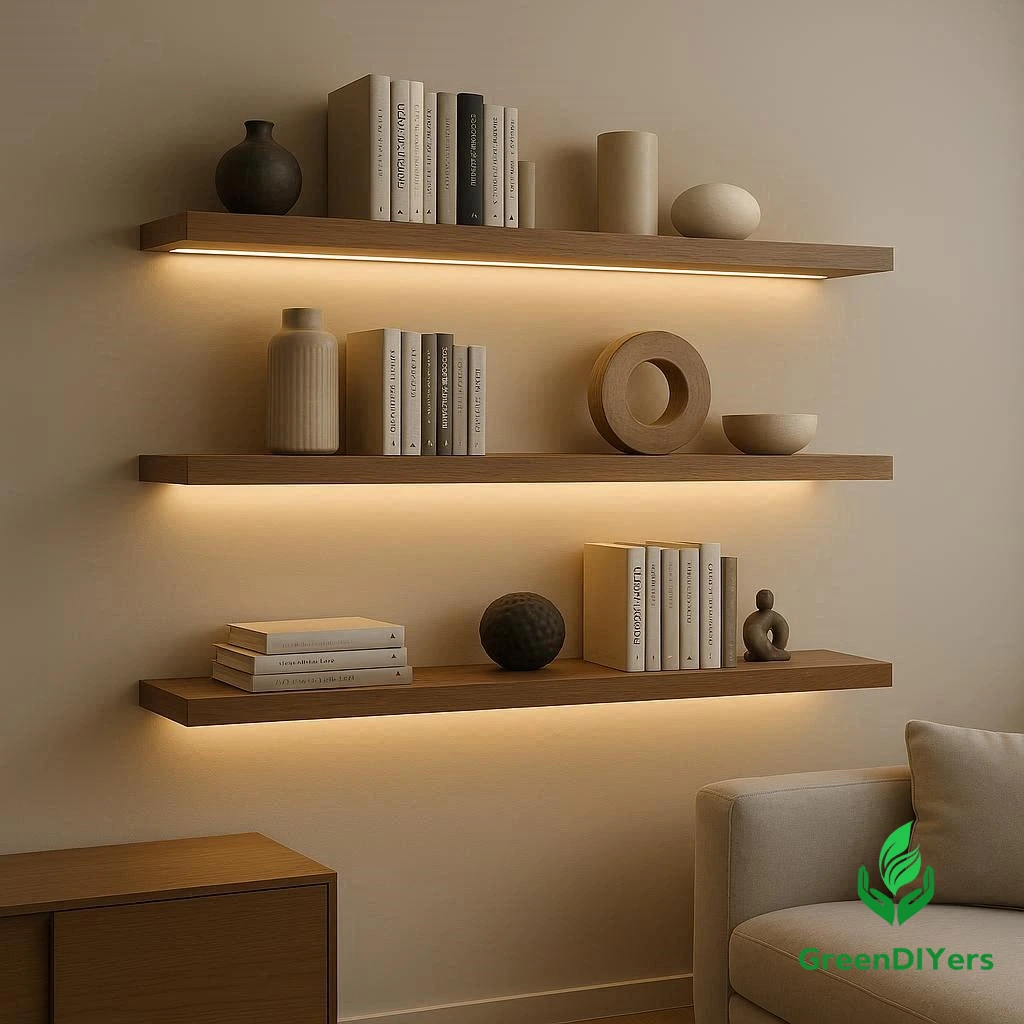
DIY Floating Shelves with LED Lighting
Create dramatic accent lighting while adding storage. These illuminated shelves become focal points that showcase your favorite items beautifully.
Heavy-Duty DIY Floating Shelves
Built to handle serious weight, these robust shelves can support books, heavy decor, or even small appliances. Learn professional-grade mounting techniques that ensure long-term reliability.
Planning & Preparation
Successful DIY floating shelves start with careful planning. Begin by measuring your space precisely – not just length, but also considering depth and height relative to other room elements. Mark your desired shelf locations with painter’s tape to visualize the final result.
Weight considerations are crucial. A typical floating shelf can safely support 15-30 pounds when properly mounted to studs. Planning to display heavy items? You’ll need heavy-duty mounting systems and careful load calculations.
Understanding your wall type is essential. Drywall requires specific anchors, while plaster walls need different approaches. Brick or concrete walls offer excellent holding power but require masonry bits and appropriate fasteners.
Source materials thoughtfully. Local lumber yards often offer better prices and wood selection than big box stores. Don’t forget about reclaimed wood suppliers, which can provide unique materials with character and history.
Installation Best Practices & Troubleshooting
Level shelves are non-negotiable – nothing screams “amateur” like a crooked shelf. Invest in a good level and take your time. Mark your stud locations clearly and double-check measurements before drilling.
Secure anchoring prevents disasters. Always mount to studs when possible, and use appropriate wall anchors for your wall type and expected load. When in doubt, overengineer your mounting system.
Real walls aren’t perfect, but your shelves can still look professional. Learn techniques for dealing with uneven walls, including shimming methods and flexible mounting systems that accommodate imperfections.
Common mistakes include rushing the planning phase, using inadequate anchors, and forgetting to account for wall texture. Take your time, measure twice, and test your mounting system before final installation.
Decorating & Styling Your Floating Shelves
Great DIY floating shelves deserve thoughtful styling. Follow the rule of thirds when arranging items – group objects in odd numbers for visual interest. Mix heights, textures, and colors while maintaining balance.
Consider your room’s function when styling. Kitchen DIY floating shelves might showcase beautiful dishware and cooking essentials, while living room shelves could display books, plants, and personal treasures.
Don’t overcrowd your shelves. Negative space is just as important as the items you display. Leave room for your shelves to “breathe” and for individual pieces to shine.
FAQ: Your Floating Shelf Questions Answered
Q: How much weight can DIY floating shelves hold? A: Properly installed DIY floating shelves typically support 15-30 pounds when mounted to studs. Heavy-duty systems can handle 50+ pounds with appropriate mounting methods.
Q: Can I install floating shelves without hitting studs? A: While possible with heavy-duty drywall anchors, mounting to studs provides far superior holding power and long-term reliability.
Q: What’s the best wood for beginners? A: Pine offers an excellent balance of affordability, workability, and appearance. It’s forgiving for beginners and readily available at most lumber stores.
Q: How do I make shelves look perfectly level? A: Use a high-quality level during installation and take measurements from multiple reference points. Don’t rely solely on your wall or ceiling lines, which may not be perfectly level.
Q: Can floating shelves work in bathrooms? A: Absolutely! Choose moisture-resistant materials and finishes, ensure proper ventilation, and consider the humidity levels in your specific bathroom.
Conclusion & Call to Action
DIY floating shelves offer the perfect combination of function, style, and personal satisfaction. Whether you’re tackling your first beginner project or ready to attempt an advanced LED-lit design, the key is starting with solid planning and taking your time with each step.
Remember, every expert was once a beginner. Don’t be discouraged if your first attempt isn’t perfect – each project teaches valuable lessons that improve your skills for the next one.
Ready to transform your walls? Start with our beginner-friendly floating shelf plan, gather your materials, and begin creating storage solutions that perfectly fit your space and style. Your walls (and your wallet) will thank you!
What room will you tackle first with your new floating shelf skills? Share your projects and questions in the comments below – I’d love to see what you create!