
Octopus Beaded Patterns: 35 Designs [Free Guide]
Let me be honest with you: when my niece first asked me to help her make an octopus bead pattern, I thought, “How hard can this be?” Forty-five minutes later, we had something that looked more like a purple blob with anxiety. But here’s the thing — octopus beaded patterns are actually the most forgiving aquatic design in the entire bead craft world. Those eight wiggly tentacles? Total camouflage for imperfection. And that’s exactly why they’re a goldmine for kids and beginners.
Pro-Tip right out of the gate: The secret to perfect octopus tentacles is the staggered bead method — offset each row by half a bead rather than stacking them directly. This prevents the thin tentacle arms from snapping when you peel them off the pegboard. Game-changer.
Whether you’re a parent desperate for a screen-free Saturday activity or a seasoned bead artist ready to level up, this guide has your octopus covered — from tiny 5×5 kawaii designs to jaw-dropping 3D bead art that actually snaps together into a desk toy.
Table of Contents
Essential Supplies: Which Beads Actually Work {supplies}
Not all beads are created equal — and for octopus patterns specifically, brand choice matters more than you’d think.
Perler Beads are the gold standard. They melt evenly, come in 80+ colors (including that perfect deep-sea purple), and hold tentacle shapes without warping. Best for ages 6+.
Hama Beads are slightly smaller and produce finer detail — great for intermediate designers who want realistic texture. A tiny bit harder to handle for small fingers.
Pony Beads are the wild card. Larger, chunkier, and nearly indestructible — perfect for toddlers (ages 3–5) and larger display pieces. You won’t get fine detail, but you will survive the project with your sanity intact.
Quick Start Table
| Pattern Size | Grid Needed | Avg. Bead Count | Iron Setting |
|---|---|---|---|
| Mini Kawaii (5×5) | Small pegboard | 20–30 beads | Medium |
| Standard (15×15) | Medium pegboard | 180–220 beads | Medium-High |
| Large Realistic (25×25) | Large pegboard | 550–650 beads | High |
| 3D Assembly | Multiple small boards | 400–500 total | Medium |
Category 1: Mini & Kawaii Octopus Patterns (Beginner) {beginner}
Patterns 1–10 | Grid sizes: 5×5 to 10×10
These are your bread and butter for a quick 20-minute activity. Small grids mean less time sorting beads and more time actually creating.
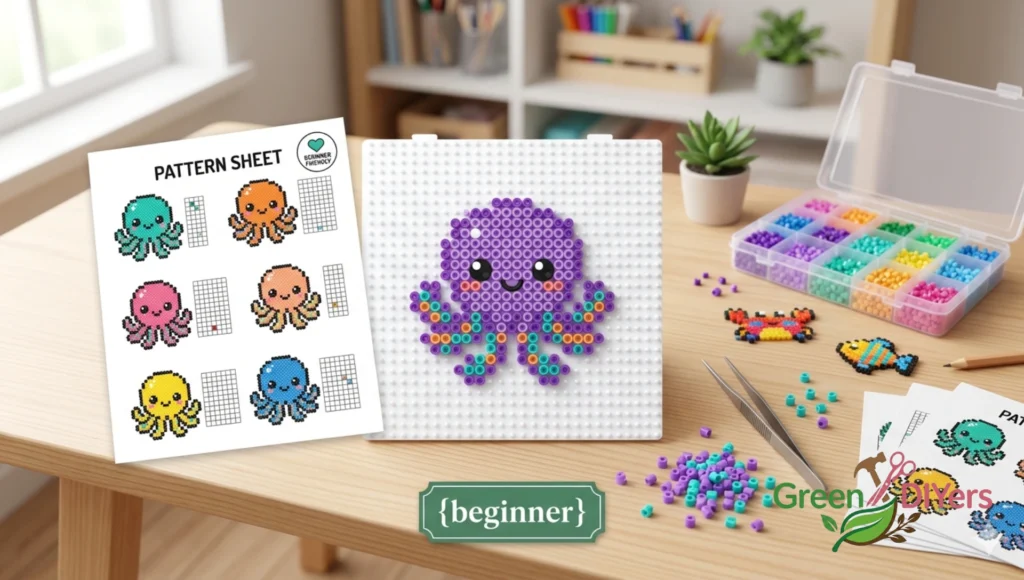
Patterns 1–3: One-Color Wonders Don’t underestimate the power of a single-color design. For toddlers with limited bead sets — or kids who just discovered the floor is also a pegboard — one-color octopus shapes on a 5×5 grid are perfect. Use a contrasting ironing paper so they can actually see what they’re building.
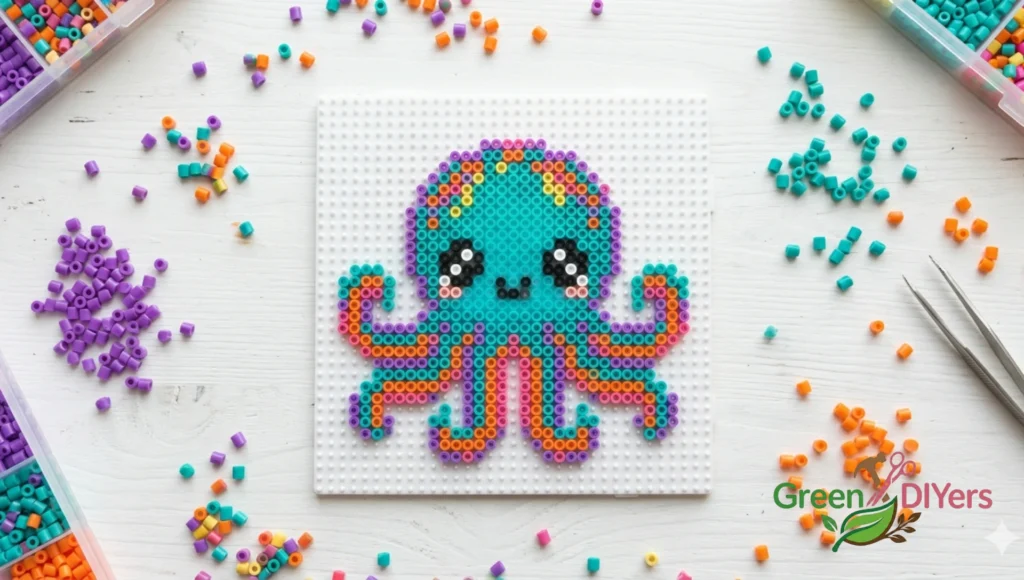
Patterns 4–6: Chibi Octopus (Kawaii Style) Big round head, tiny curved tentacles, dot eyes. Work on a 10×10 grid. Use pastel pink or lavender for the body, white for eyes, and black dots for pupils. Add a tiny blush mark on each “cheek” with rose-colored beads — kids absolutely love this detail.
Patterns 7–8: Ocean Floor Scene Minis Create two or three 5×5 mini octopuses alongside a small starfish and shell. Arrange them as a trio and iron as one connected piece. Instant ocean tableau, zero stress.
Patterns 9–10: Emoji Octopus Based on the popular 🐙 emoji — orange body, simplified curled tentacles, happy face. Works beautifully on a 10×10 grid with about 85 beads. This one’s a crowd-pleaser for ages 6–10.
Parent tip: Pre-sort bead colors into a muffin tin before you start. Yes, it takes five extra minutes. No, you will not regret it.
Category 2: Large & Realistic Tentacle Designs (Intermediate) {intermediate}

Patterns 11–25 | Grid sizes: 20×20 to 30×30
Here’s where things get genuinely impressive. Intermediate-level octopus beaded patterns focus on motion — making those tentacles look like they’re actually flowing through water.
The Rule of 8: Don’t Skip This Here’s a mistake I see constantly in lower-quality patterns floating around online: the octopus only has 6 or 7 visible tentacles because the designer ran out of space or got lazy. An octopus has 8 arms — always. When working on larger grids, plan your tentacle placement first, count to 8, then fill in the body. Sounds obvious. It’s not, apparently.
Patterns 11–15: The Spread Eagle Full body with all 8 tentacles radiating outward symmetrically. Use gradient coloring — dark purple at the body fading to lavender at the tentacle tips — to create natural-looking depth. About 400 beads on a 25×25 grid.
Patterns 16–20: The Curling Motion Series These patterns show the octopus mid-swim, with tentacles curled upward at various angles. The asymmetry is intentional and creates visual energy. Great for wall art when ironed and framed.
Patterns 21–25: Glow-in-the-Dark Deep Sea Use glow beads for the suckers along each tentacle. In daylight it looks normal; at night it transforms. Kids go absolutely wild for this. (Fair warning: you will need to confiscate it from the bedroom or they will stare at it until 11pm.)
Category 3: 3D Octopus Bead Art (Advanced) {advanced}
Patterns 26–35 | Multi-board assembly
This is where we leave every other octopus bead guide in the dust. These aren’t flat designs — they’re modular 3D structures that snap together into a standing desk sculpture.
How It Works: Each of the 8 tentacles is ironed as a separate curved strip on a mini pegboard, then connected via a central domed body piece. The body uses a rounded 12×12 grid that’s ironed while slightly warm and pressed into a bowl to hold the curve.
Assembly overview:
- Iron 8 tentacle strips (each 3×12 beads, slightly curved)
- Iron the dome body (12×12, circular)
- While body is still slightly warm, press gently into a rounded bowl for 30 seconds
- Use clear jewelry wire to thread tentacles onto body base
- Stand upright — tentacles splay outward naturally due to the curve you created
The finished piece stands about 4 inches tall and makes an incredible desk toy, birthday gift, or classroom project. These patterns use roughly 400–500 beads total.
Technical Tutorial: The Tape Method for Octopus Tentacles {tape-method}
Long, thin tentacles are the nemesis of every bead crafter. Here’s the technique that actually works:
What you need: Painter’s tape, ironing paper, and a flat iron (not a regular iron — the tip gives you more control).
Step-by-step:
- Complete your tentacle design on the pegboard
- Place ironing paper on top as normal
- Run a strip of painter’s tape along the length of each tentacle — over the ironing paper — before you apply any heat
- Iron gently from the center outward (never side to side on tentacles)
- Let cool for 90 seconds before removing the tape
- Peel slowly from the thick end toward the tip
The tape acts as a splint, keeping thin sections from warping or snapping while the fused beads are still hot and flexible. This technique works for any thin-limbed design — not just octopuses.
Octopus Facts for School Projects {facts}
Bead art + a school report = double win. Here are some kid-friendly facts to pair with your patterns:
- Blue-ringed octopus: Tiny (about the size of a golf ball) but one of the most venomous animals on earth. Its brilliant blue rings only appear when threatened. A 10×10 pattern with iridescent blue beads makes a stunning visual representation.
- Mimic octopus: Can impersonate over 15 different species, including lionfish, flatfish, and sea snakes. Great for a “disguise” themed bead project — make the same base shape with different color schemes.
- Octopus intelligence: They have three hearts and nine brains (one central, one in each arm). Each arm can act independently.
- Ink defense: The ink isn’t just for escape — it also dulls a predator’s sense of smell temporarily.
FAQ {faq}
What is the best bead brand for octopus patterns? Perler beads are the best all-around choice for octopus beaded patterns. Their color range is unmatched, they melt consistently, and they hold fine tentacle shapes well. For very young children (under 5), use Pony beads instead — they’re larger and easier to handle.
How many beads do I need for a standard octopus pattern? A standard 15×15 octopus pattern uses approximately 180–220 beads. Larger designs (25×25) require 550–650 beads. For 3D patterns, budget 400–500 beads across all components.
How do you make a 3D octopus out of beads? Create 8 separate curved tentacle strips and one domed body piece. Iron each piece individually, shape the body while warm by pressing it into a rounded bowl, then connect all pieces using clear jewelry wire threaded through the base of the body. The result is a freestanding 3D sculpture about 4 inches tall.
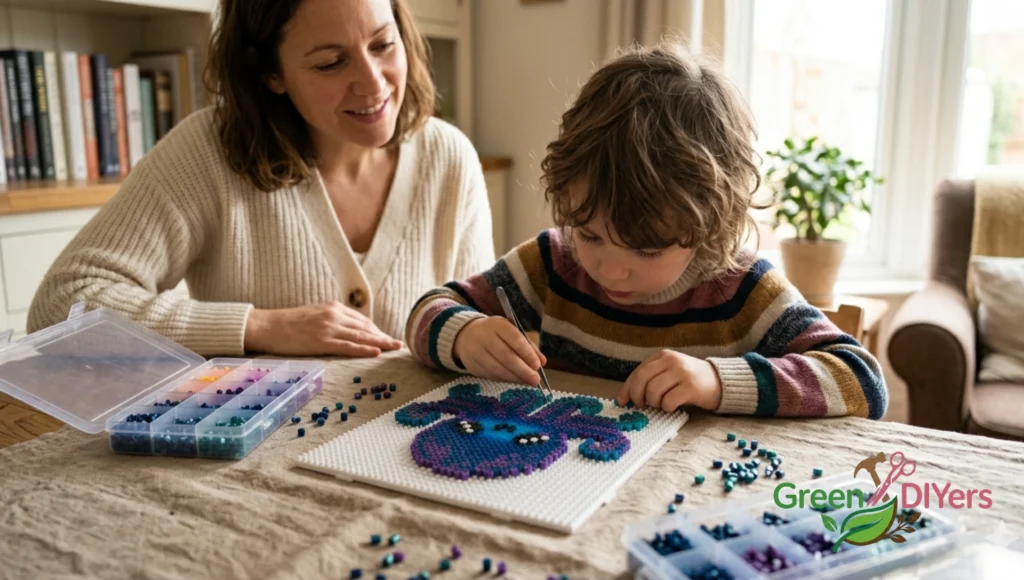
Can a 7-year-old make an octopus bead pattern? Absolutely — the 10×10 kawaii patterns (Patterns 4–6) are perfect for ages 6–8. Pre-sort the beads by color beforehand, and supervise the ironing step. Most kids can complete the design portion independently in about 20–30 minutes.
Octopus beaded patterns are one of those rare craft projects that grow with your child — starting with a simple one-color blob and eventually evolving into a 3D sculpture they’re genuinely proud of. The tentacles that once frustrated us became the whole point: eight arms, infinite possibilities.
Now go make something your kids will actually want to show their friends.