Butterfly Craft [25+ Easy Ideas + Free Printables!]
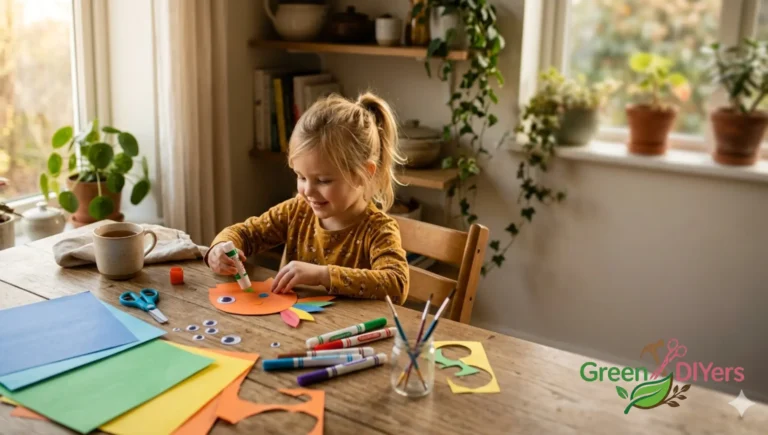
There’s something genuinely magical about the moment a child holds up a finished butterfly craft and their face just lights up. Maybe it’s the wings. Maybe it’s the colors. Or maybe it’s because butterflies are one of those rare things that feel like nature’s own artwork — and now they’ve made one themselves.
Spring is the perfect season to explore butterfly-themed creating, and the best part? You don’t need a single special supply. These crafts use toilet paper rolls, coffee filters, newspaper, and egg cartons — things sitting in your home right now. They also quietly teach fine motor skills, color theory, symmetry, and even biology. Pretty impressive for a Tuesday afternoon activity.
Let’s flutter in.
Table of Contents
- Quick & Easy Butterfly Crafts (Toddlers & Preschoolers)
- Recycled Butterfly Crafts (Eco-Friendly Ideas)
- Educational Crafts (Learning Metamorphosis)
- Free Butterfly Templates & Patterns
- Essential Supplies for Butterfly Crafting
- Frequently Asked Questions
Section 1: Quick & Easy Butterfly Crafts (Toddlers & Preschoolers) {section-1}
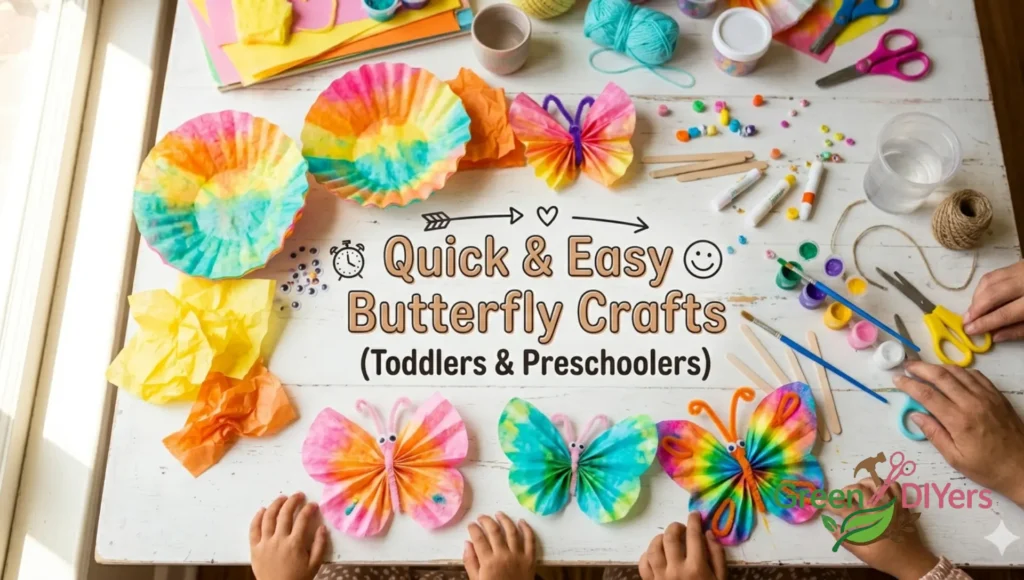
These are the crafts for when you have 20 minutes, a toddler with energy to burn, and approximately zero desire to clean up a disaster. They’re simple, sensory-rich, and genuinely beautiful when finished.
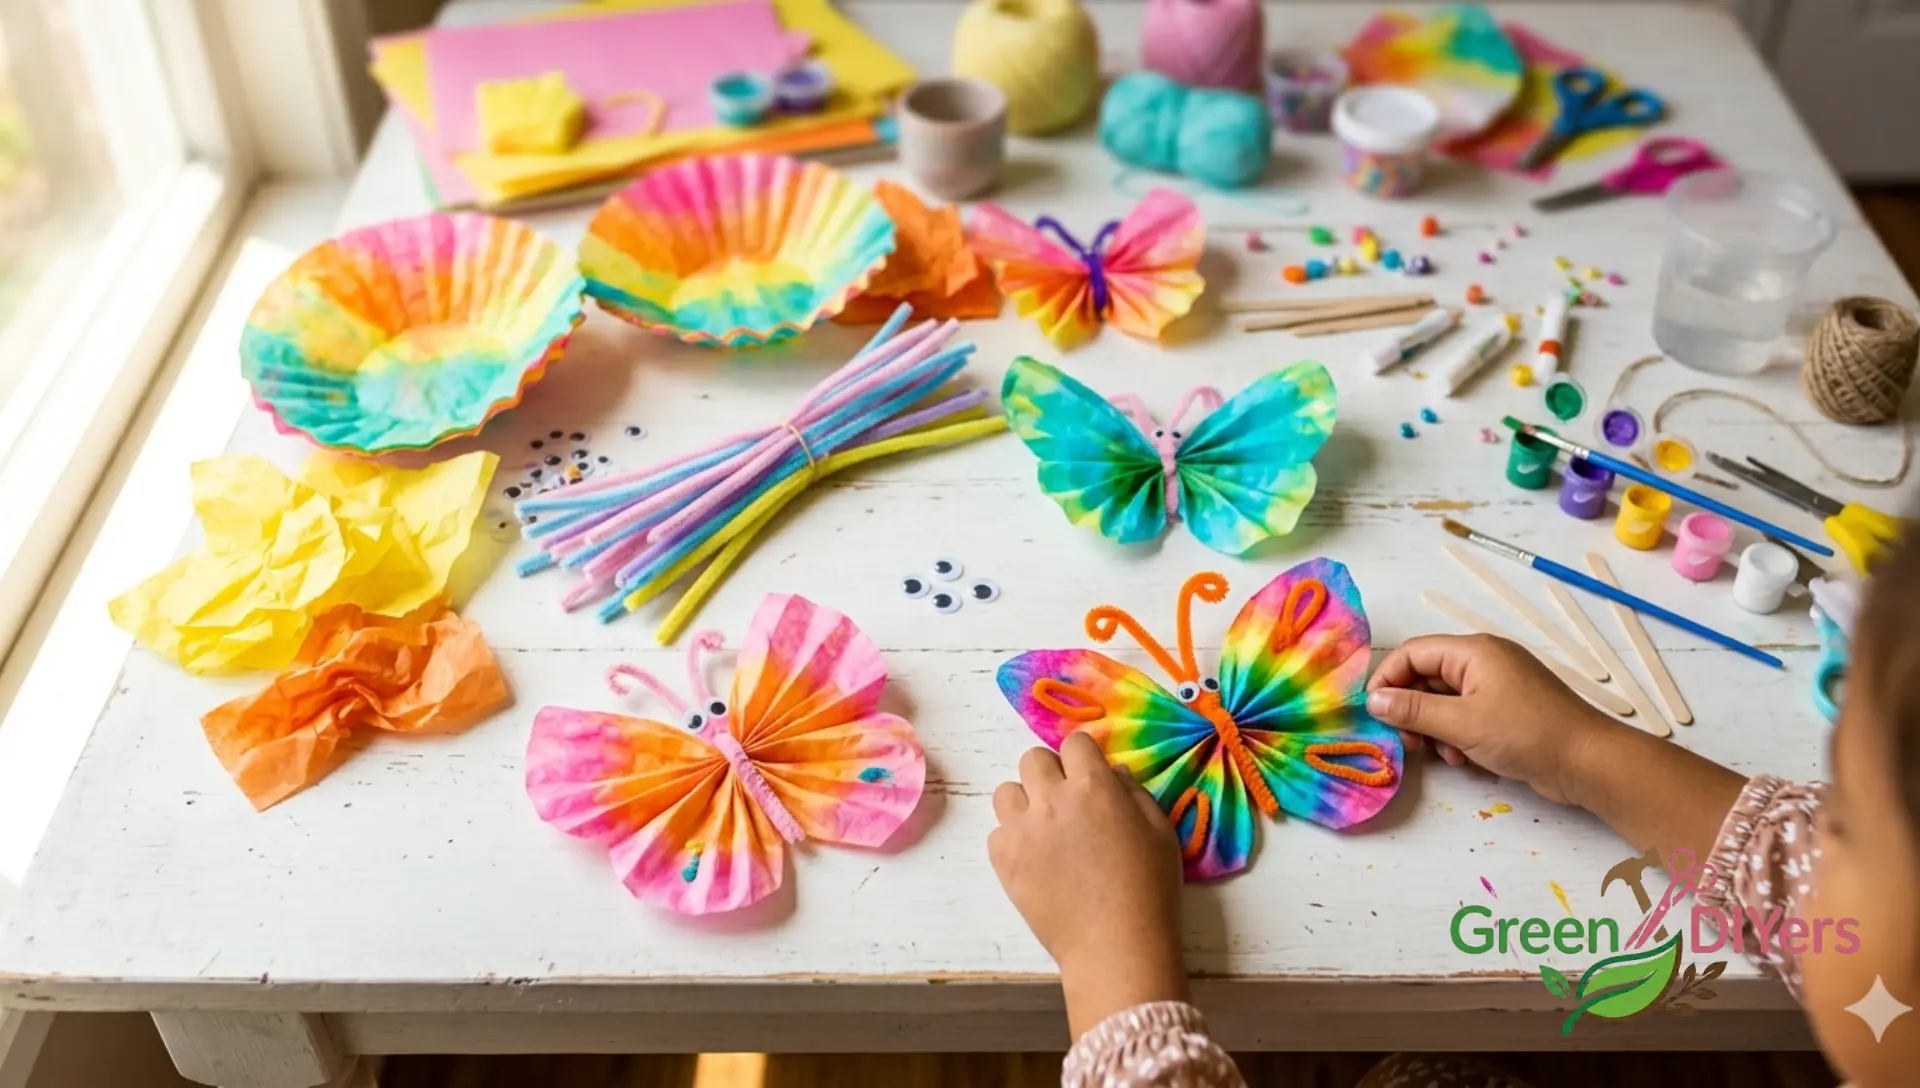
Idea 1: The Classic Coffee Filter Butterfly
This is the butterfly craft that never gets old — and once you try the wet-on-wet technique, you’ll understand why it keeps going viral every spring.
What you need:
- White basket-style coffee filters (the round ones)
- Washable markers in bright colors
- A spray bottle of water
- Clothespins or pipe cleaners for the body
- Googly eyes
How to make it:
- Flatten a coffee filter and let your child color all over it with washable markers — no rules, just chaos and color.
- Lightly spray the colored filter with water. Watch the colors bleed and blend into each other. This is the wet-on-wet magic moment. Kids lose their minds over it every single time.
- Let it dry completely (about 20–30 minutes, or use a hairdryer if patience is not your child’s strength).
- Pinch the center of the dry filter and clip a clothespin around it. The filter fans out into wings on both sides.
- Glue on googly eyes, add pipe cleaner antennae, and you’re done.
Why it works developmentally: Squeezing the spray bottle builds hand strength. Watching colors blend introduces early color theory. The sensory experience of wet paper is genuinely calming for most toddlers.
Idea 2: Paper Plate Butterflies (Symmetry Focus)
Here’s a sneaky way to teach one of the most important early math concepts — symmetry — without it feeling like a lesson at all.
Fold a paper plate in half and have your child paint or stamp one side only. Then press the two halves together while the paint is still wet. When they open it, both sides match perfectly. Their reaction? Priceless.
You can extend the symmetry conversation naturally: “Look — both wings are exactly the same! That’s called symmetry. Real butterflies have it too.”
Glue a toilet paper roll down the center as the body, add pipe cleaner antennae, and you’ve got a craft that doubles as a mini science lesson.
Idea 3: Handprint Butterfly Keepsakes
If you want a craft that parents will actually save for 20 years, this is it.
Paint your child’s hands in two contrasting colors — one color per hand. Press each hand down on either side of a central body (drawn or stamped), fingers pointing outward and slightly upward like wings. The thumb becomes the upper wing tip, the fingers become the lower wing details.
Date it on the back. Frame it. Done. You’re welcome.
💡 Time-saving tip: Do this at the END of a craft session, not the beginning. Once hands are painted, the session is basically over anyway.
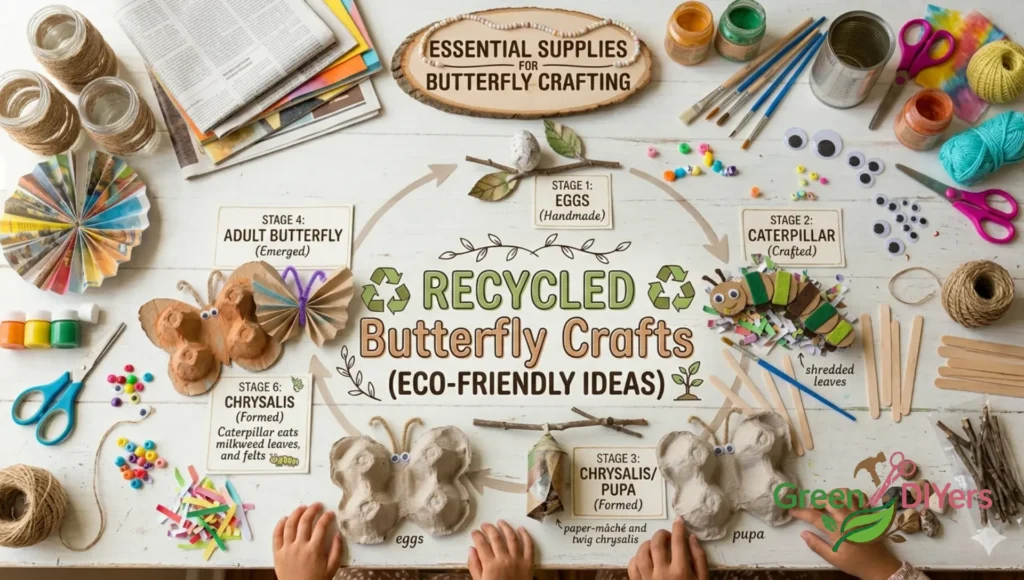
Section 2: Recycled Butterfly Crafts (Eco-Friendly Ideas) {section-2}
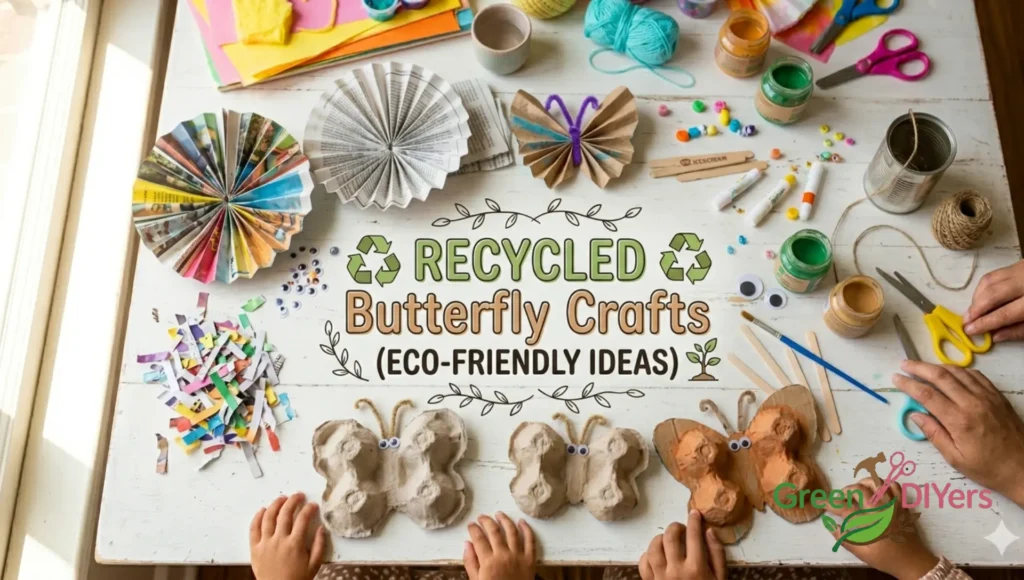
These butterfly craft ideas are built on one principle: the best supply is one you were about to throw away. This section is a favorite for eco-conscious families and classrooms trying to reduce single-use materials.
Idea 4: Toilet Paper Roll Butterflies
Save those cardboard rolls. Flatten a toilet paper roll slightly and cut two wing shapes from the flattened sides — or simply cut the roll into rings and reshape them. Paint in bright colors, let dry, then attach tissue paper or painted coffee filter wings using hot glue.
Add a pipe cleaner threaded through the top for antennae, and your butterfly stands upright on a shelf. These look incredible lined up on a windowsill.
Eco bonus: Use leftover paint from other projects. Nothing needs to be fresh or matching.
Idea 5: Egg Carton Caterpillar-to-Butterfly
This is the craft that secretly teaches the whole life cycle story.
Cut a row of four egg carton cups for the caterpillar body. Paint them green, add googly eyes to the front cup, and pipe cleaner legs on the sides. On a separate card, draw or attach a simple cocoon shape. Then display your finished butterfly craft alongside it.
Three stages, one craft session, one very important biology lesson absorbed without anyone realizing it was a lesson.
🍎 Teacher’s Corner: The sequence of caterpillar → cocoon → butterfly maps directly to the concept of metamorphosis. Ask kids to describe what they think is happening inside the cocoon. The answers are always wonderfully creative — and scientifically closer than you’d expect.
Idea 6: Newspaper Painted Butterflies
Tear newspaper into strips and scrunch them into wing shapes. Layer and glue them onto cardboard, let dry, then paint over everything in bright acrylics. The newsprint texture shows through the paint in the most gorgeous, unexpected way.
This technique looks so professional that people genuinely ask if you bought it. The answer — “I made it from old newspaper” — never gets old.
Section 3: Educational Crafts (Learning Metamorphosis) {section-3}
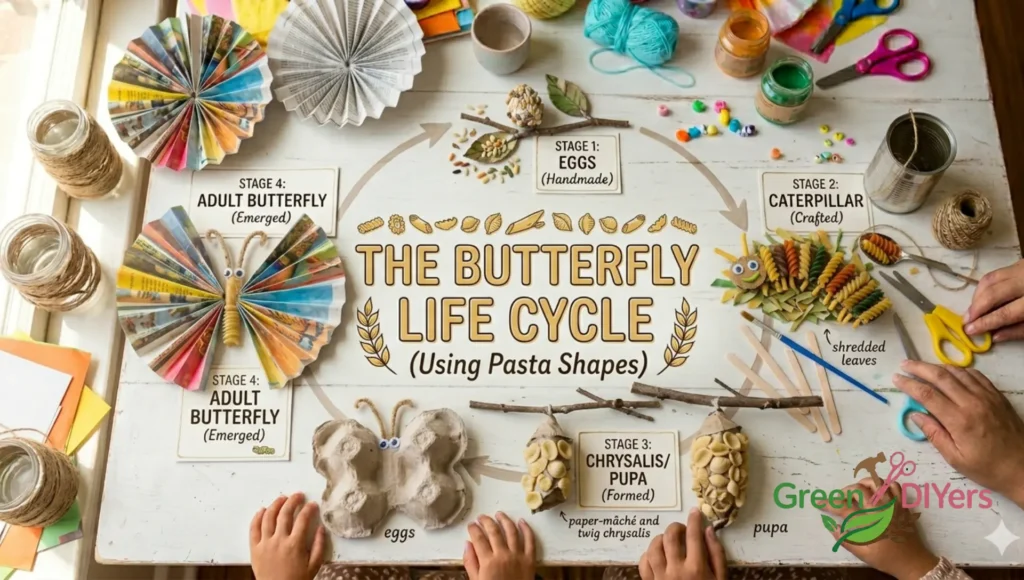
Idea 7: The Butterfly Life Cycle Craft (Using Pasta Shapes)
This is one of the cleverest STEAM activities in the butterfly craft world, and it requires nothing but dried pasta and paint.
Pasta-to-life-cycle key:
- Orzo = eggs (tiny, oval)
- Rotini (spiral pasta) = caterpillar
- Shell pasta = chrysalis / cocoon
- Bow-tie (farfalle) pasta = butterfly
Paint each pasta type the appropriate color — green for caterpillar, brown for cocoon, vivid colors for the butterfly. Arrange them in a circle on black cardboard in sequence and label each stage. Seal with Mod Podge.
The result is a tactile, visual, and genuinely beautiful life cycle diagram that belongs on a classroom wall — not in a recycling bin after two days.
Skills covered: Sequencing, biology vocabulary, fine motor control, pattern recognition
Section 4: Free Butterfly Templates & Patterns {section-4}
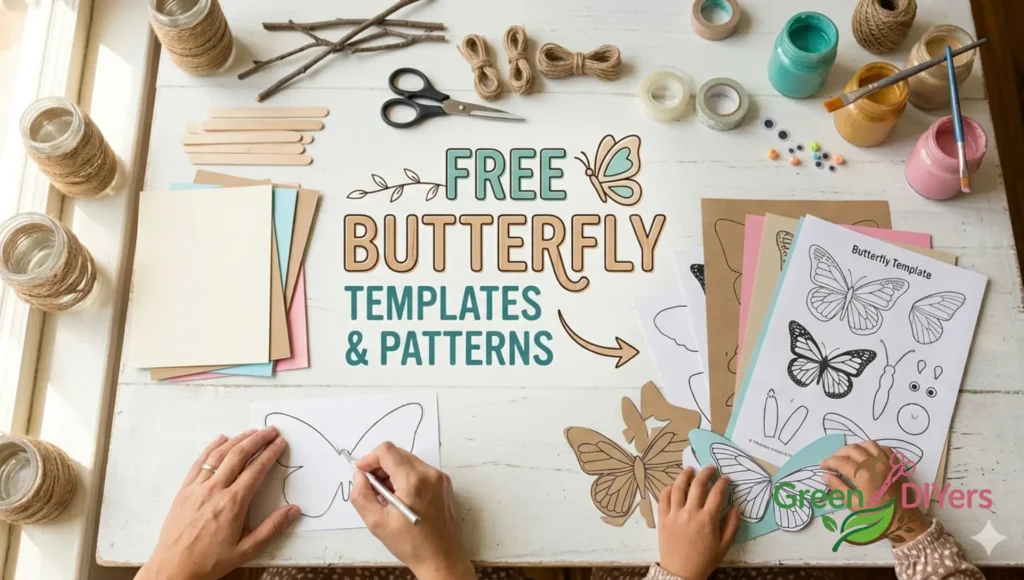
One of the most requested resources in the craft community is a clean, ready-to-print butterfly template — because not every parent or teacher has 10 minutes to hand-draw a symmetrical wing outline before the kids arrive.
What’s Included in the Free Pack:
- Classic symmetric butterfly (simple outline, perfect for toddlers)
- Monarch butterfly pattern (detailed wing cells for older kids to color in accurately)
- Large wing template (for handprint butterfly activity — trace around it)
- Life cycle diagram worksheet (pairs with the pasta activity above)
To download the free templates, bookmark this page and check the resources section — all templates are formatted to print on standard letter-size paper. No special software needed.
These templates are also perfect resources for fellow teachers and homeschool parents to share — the more the merrier.
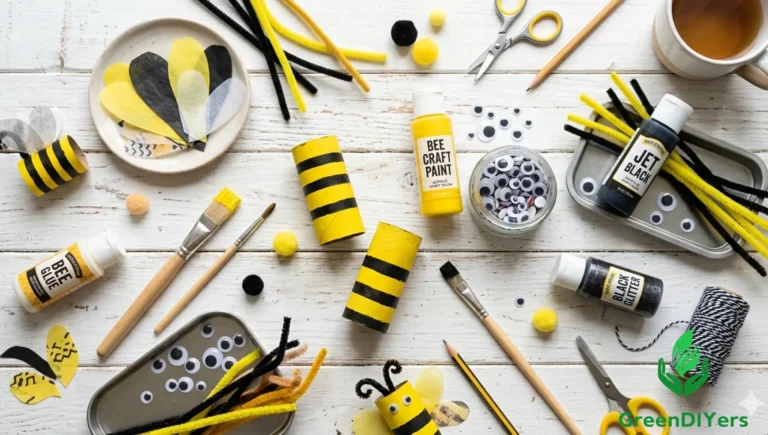
Section 5: Essential Supplies for Butterfly Crafting {section-5}
You don’t need to rush out and buy anything specific. But if you want to build a small butterfly craft kit that covers every project in this guide, here’s exactly what to stock:
The Core Kit:
- Pipe cleaners (in multiple colors)
- Clothespins (wooden — they paint better)
- Googly eyes (assorted sizes)
- Washable markers and tempera paints
- Coffee filters (round basket style)
- Tissue paper in spring colors
- Cardstock and card blanks
- Mod Podge (for sealing finished crafts)
Recycled supplies to start saving now:
- Toilet paper rolls
- Egg cartons
- Old newspaper and magazine pages
- Plastic bottles (for butterfly garden displays)
The one tool that changes everything: A low-temperature hot glue gun. Even for young kids with supervision, it speeds up assembly dramatically and creates bonds that actually hold.
Section 6: Frequently Asked Questions {faq}
How do you make a butterfly out of paper?
The easiest method is the coffee filter butterfly above — but for a pure paper version, fold a piece of colored paper in half, draw half a butterfly wing shape along the fold, and cut it out. Open it and you have a perfectly symmetrical butterfly. Decorate with markers, add a pipe cleaner body, and you’re done in under 10 minutes.
What is the easiest butterfly craft for a 3-year-old?
The handprint butterfly is the most toddler-friendly option — it requires zero cutting and the “craft” is essentially just pressing painted hands onto paper. For slightly more structure, the coffee filter butterfly works beautifully because the wet-on-wet coloring step is impossible to do wrong. Both are mess-friendly and supervision-light.
How do you teach symmetry using butterfly crafts?
The paper plate fold-and-stamp method is the clearest symmetry demonstration for young children. Fold the plate, paint one side, press together, reveal. The result makes the concept viscerally obvious — both wings match because they literally came from the same paint press. Follow up by asking children to find symmetry in real butterfly photos, leaves, or their own faces.
Final Thoughts
A great butterfly craft isn’t just a pretty thing on the fridge. It’s 20 minutes of focused, joyful creating. It’s a quiet conversation about how caterpillars change and grow. It’s fine motor practice disguised as play. And sometimes, it’s just a really fun excuse to get paint on your hands.
Pick one project from this guide and try it this week. I’d love to hear which one your kids gravitated toward — drop a comment below and let me know.
Happy crafting