The Ultimate Guide to Papercraft
✦ Comprehensive Guide · Crafts
By Bilal Al-Khaldi · ~12 min read · Beginner to Pro
I. The Art of Papercraft
📌 Featured Snippet Definition
Papercraft craft is the hobby of creating three-dimensional objects, models, and decorative art using various paper weights and textures — typically through cutting, scoring, and gluing printed templates. Unlike origami, which uses folding alone, papercraft combines precision cutting with careful assembly to produce remarkably detailed figures, from geometric low-poly sculptures to full-scale cosplay armor.
I still remember the first time I assembled a papercraft model — a tiny geometric fox, barely four inches tall — and felt that satisfying *click* as the last tab slid into place. It was borderline magical. And the best part? The total cost was under a dollar in cardstock and a little ink.
That’s the real appeal of papercraft craft. It’s affordable, screen-free (well, mostly), and the results look genuinely impressive on a shelf or desk. No wonder it’s been trending hard — from TikTok craft rooms to Instagram-worthy home decor setups.
In this guide, I’ll walk you through everything: the different types, the tools you actually need, a step-by-step first project, advanced techniques, where to grab free templates, and how to avoid the most common rookie mistakes. Let’s fold in.
✦ ✦ ✦
II. Understanding the Different Types of Paper Craft
Before you dive in, it helps to know what’s in the family. “Paper crafting” is an umbrella term — and knowing the difference between styles will help you find your lane.
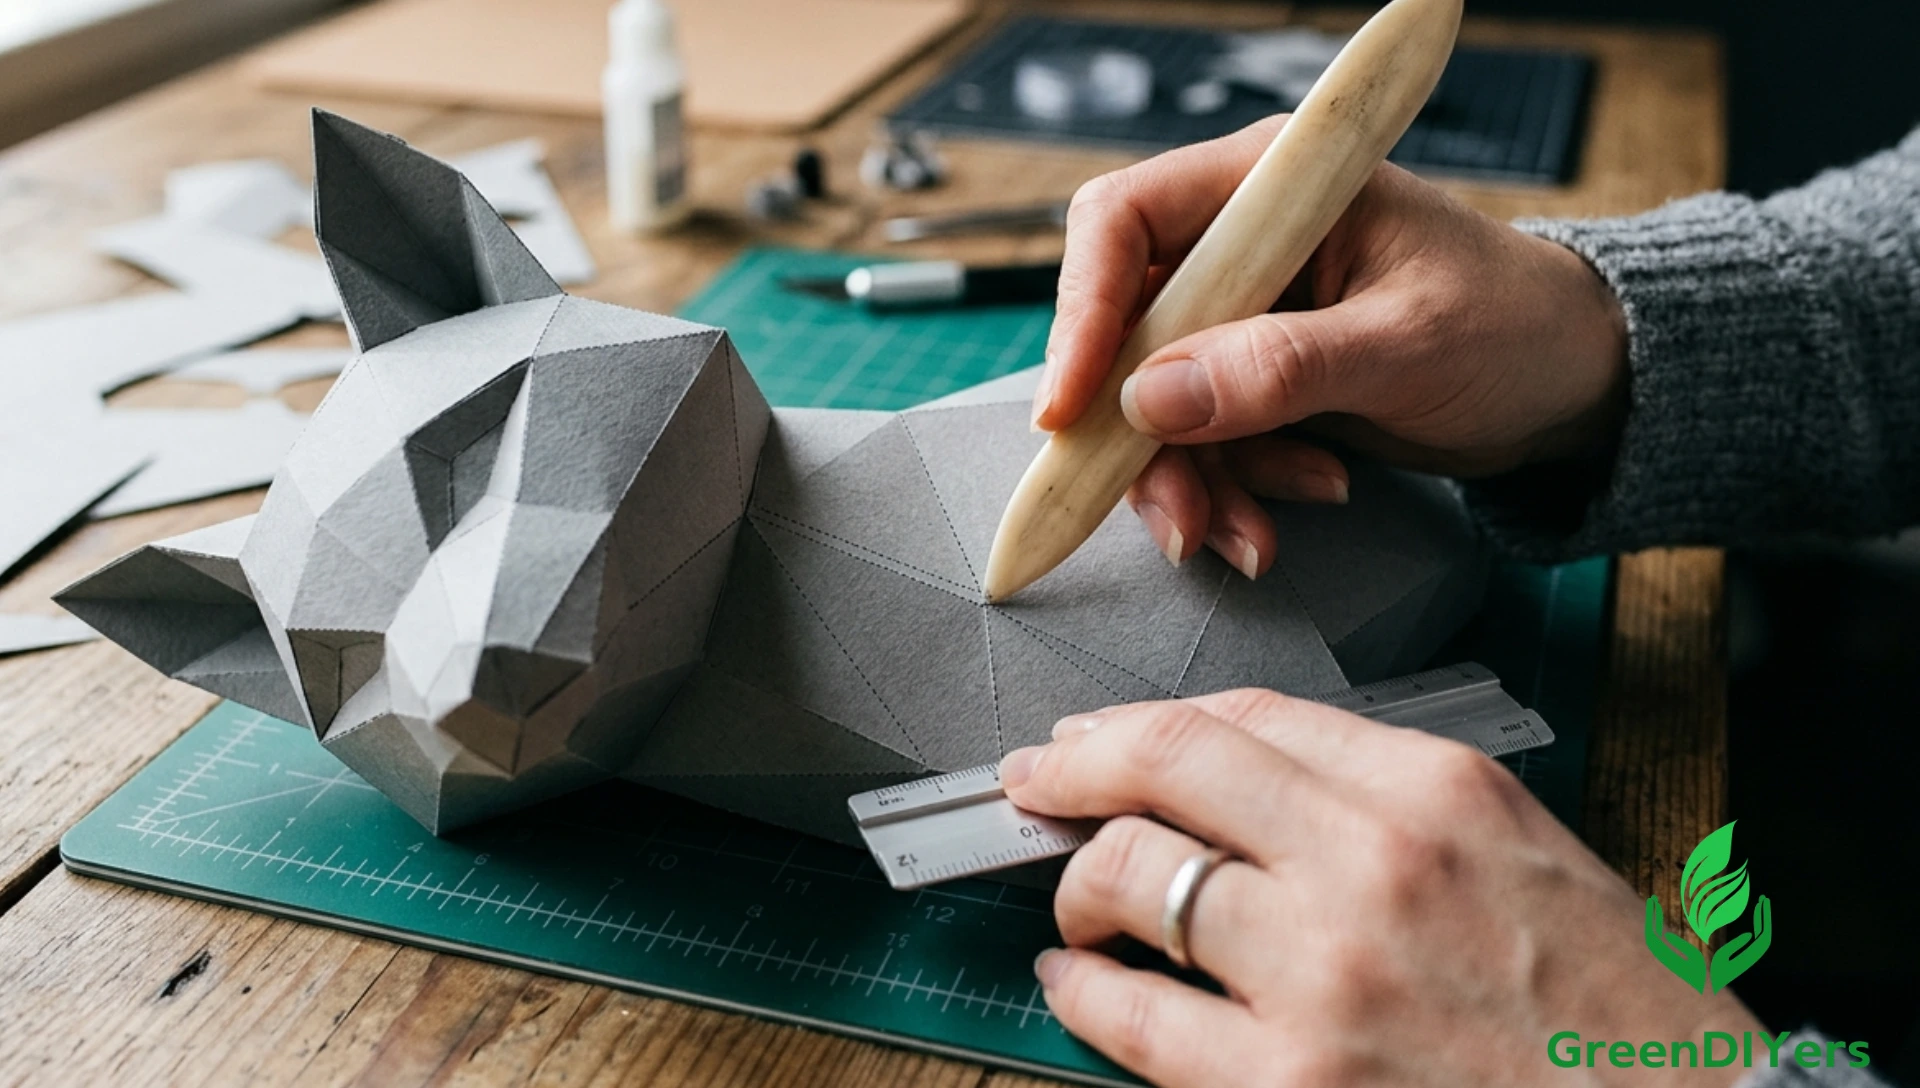
🗂 3D Paper Modeling (Pepakura)
This is the one most people mean when they search “papercraft craft.” You download a digital template, print it on cardstock, score and cut the shapes, then glue them into complex 3D figures. The software Pepakura Designer lets you “unfold” any 3D digital model into a flat, printable pattern. Huge in the cosplay community — Halo armor, Pokémon figures, movie props, you name it.
🕊 Origami vs. Papercraft
| Feature | Origami | Papercraft |
|---|---|---|
| Core Technique | Folding only | Cutting, scoring & gluing |
| Tools Required | Just paper | Knife, mat, bone folder, glue |
| Paper Used | Thin specialty paper | Cardstock (160–220gsm) |
| Difficulty | Beginner–Advanced | Beginner–Expert |
| Detail Level | Abstract shapes | Highly realistic models |
| Template Needed? | No | Yes (printed or digital) |
🌀 Quilling
Quilling uses long, thin strips of paper rolled into coils and shaped into flowers, letters, or intricate artwork. It’s meditative and produces stunning results — especially framed pieces. If you like jewelry-making vibes, quilling is your jam.
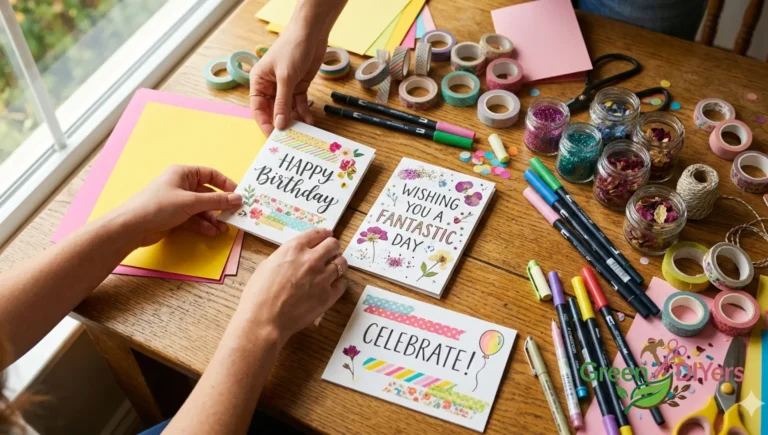
📔 Scrapbooking & Card Making
The social and storytelling side of the craft world. Scrapbooking documents memories with layered papers, photos, and embellishments. Card making is quicker and gift-ready. Both have massive online communities and local craft groups.
🖼 Decoupage
Decoupage involves gluing paper cutouts (magazine clippings, tissue paper, napkins) onto surfaces like furniture, vases, or boxes, then sealing with varnish. It’s a brilliant way to upcycle old objects with next to no budget.
✦ ✦ ✦
III. The Essential “Pro” Toolkit
You don’t need a fancy studio. But a few smart purchases will make or break your papercraft experience. Here’s what actually matters:
📄 The Right Paper: Understanding GSM
GSM stands for “Grams per Square Meter” — it’s how paper weight is measured. Regular printer paper sits around 80gsm. Too flimsy for 3D models.
💡
The Sweet Spot: 160gsm–220gsm cardstock. This range is stiff enough to hold structure but flexible enough to score cleanly without cracking. Great brands include Neenah, Hammermill, and Canon’s own cardstock.
✂️ Cutting Tools
- Precision knife (X-Acto #1) — non-negotiable for clean cuts and tight internal cutouts
- Self-healing cutting mat — protects your desk and keeps blades sharp longer
- Electronic cutters (Cricut/Silhouette) — game-changers for complex designs; they cut your template automatically (see our full Cricut vs Silhouette comparison)
- Sharp scissors — for large straight cuts where precision isn’t critical
🦴 The Secret Tool: The Bone Folder
Okay, this one surprises beginners every time. A bone folder is a flat, smooth tool (traditionally made from bone, now usually plastic or Teflon) that you drag along a scored line to create a perfectly crisp fold. Without it, folds are uneven, edges gap, and your model looks rough. With it? Chef’s kiss. Pick one up for under $10 — it’s worth every cent.

🧴 Adhesives
- PVA glue (white craft glue) — strongest bond; ideal for final assembly; dries clear
- Glue stick — great for quicker work, less warping on thinner paper
- Double-sided tape — clean and fast; perfect for tabs on crisp geometric models
Pro tip: Apply glue to the tab, not the main surface. Less is more — especially if you want to avoid warping .
✦ ✦ ✦
IV. Step-by-Step: How to Start Your First Papercraft Project
Ready to actually make something? Here’s how your first papercraft session should flow:
- Select a TemplateStart simple — a geometric animal or low-poly letter. Digital PDF templates (print them yourself) give you the most flexibility. Canon Creative Park has excellent free beginner options. Printed kits from craft stores work too but cost more.
- Score the Lines Before You CutThis is the step beginners always skip — and regret. Use your bone folder to score along every fold line first. Mountain folds fold away from you (score on the back); valley folds fold toward you (score on the front). Getting this right means edges that actually align.
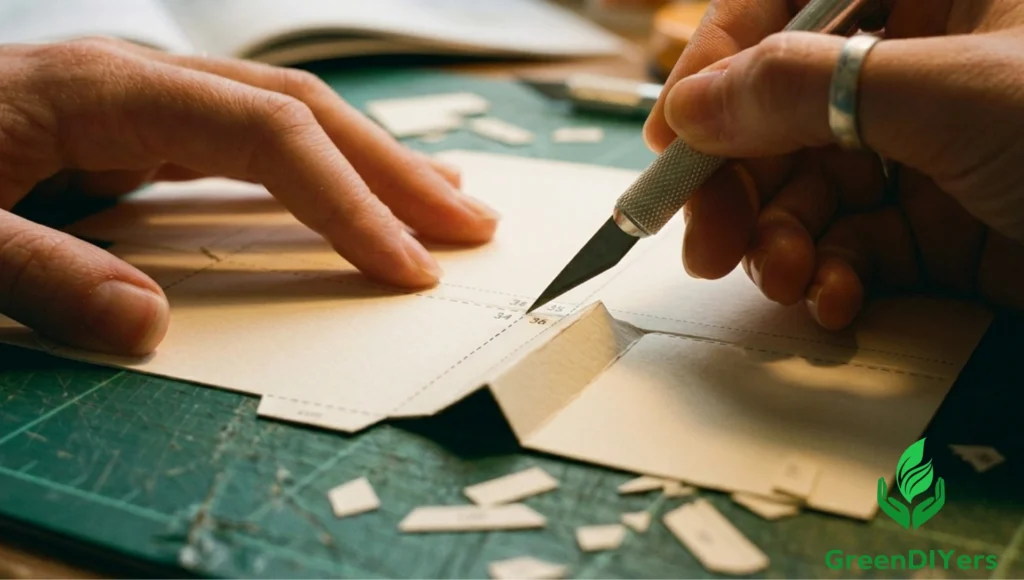
- Cut PreciselyUse your X-Acto knife on the mat. For internal cutouts, pierce the center first, then cut outward to the corners. Rotate the paper, not the knife. Take your time — rushing = crooked edges.
- Assemble from Smallest Parts FirstMost templates number the tabs. Start with the smallest, tightest components (like a head or feet) before moving to larger body panels. This gives you access to glue tabs before they become unreachable inside the model.
⏱
Time-saving tip: Pre-fold every single piece before you glue anything. Assembly is 3× faster when you’re not stopping to fold and glue simultaneously.
✦ ✦ ✦
V. Advanced Techniques: Moving Beyond the Basics
🎨 Weathering & Painting
Want your papercraft to look like aged metal or rough stone? Dry-brush acrylic paint in dark tones along edges and recesses, then lightly dust a lighter shade across raised surfaces. The technique (borrowed from scale modeling) adds startling realism. Seal with matte varnish to protect it.
🛡 Reinforcement for Large-Scale Builds
Planning cosplay armor or a life-size helmet? Papercraft is just the skeleton. Once assembled, coat the inside with fiberglass resin or Plasti-Dip to add structural strength. Many cosplayers use this exact method — paper template + resin shell — to create wearable pieces that look like hard plastic or metal.
💡 LED Integration
Slip a small battery-powered LED strip inside paper lanterns, geometric lampshades, or hollow models and you’ve got instant ambient lighting. The paper diffuses the glow beautifully. Use warm-white LEDs for that cozy look, or color-changing strips for something playful.
✦ ✦ ✦
VI. Where to Find the Best Papercraft Templates
🆓 Free Resources
- Canon Creative Park — one of the most trusted free libraries; ranges from beginner to complex architectural models
- Yamaha Papercraft — musical instruments and vehicles rendered in beautiful detail
- Ninjatoes’ Papercraft Page — beloved in the community for video game characters and props
💎 Premium & Paid Designers
- Etsy — search “low poly papercraft PDF” for hundreds of independent designer templates; usually $2–$8
- Patreon — several prolific designers release monthly packs for $5–$15/month
🖥 Make Your Own with Pepakura Designer
Pepakura Designer (Windows) lets you import any 3D file (.OBJ, .STL) and automatically unfold it into a printable template. It’s the software behind most complex papercraft models online. The free viewer is read-only; the full version runs around $38 — worth every penny if you want to design originals.
✦ ✦ ✦
VII. Troubleshooting Common Papercraft Mistakes
Trust me, everyone hits these walls. Here’s how to get past them:
❓ “Why is my paper warping?”
Almost always too much glue. PVA glue is water-based — it soaks into paper and causes it to expand unevenly. Use a thin, even layer and allow 10–15 seconds of drying before pressing pieces together. For flat panels, glue sticks or double-sided tape are your safer bet.
❓ “My edges aren’t lining up.”
Incorrect or skipped scoring. If you didn’t score before folding, the fold point shifts and throws off your alignment. Also check: did you cut on the line or inside/outside it? Even a millimeter off accumulates across a model with 50+ pieces.
❓ “The ink is smearing when I handle it.”
This is an inkjet printer problem. Inkjet ink sits on the surface and takes longer to cure — especially on coated cardstock. Let prints dry fully (30+ minutes) before handling, or switch to a laser printer, which fuses ink into the paper with heat. Laser-printed templates are also more water-resistant during gluing.
✦ ✦ ✦
VIII. Frequently Asked Questions
Is papercraft a cheap hobby?
Genuinely, yes — it’s one of the most budget-friendly crafts out there. A ream of cardstock (~$12), a precision knife (~$8), a bone folder (~$6), and a cutting mat (~$15) is your full starter kit. Many templates are free, and you’re only using ink and paper per project.
What is the best glue for 3D papercraft?
PVA glue (white craft glue) for the strongest long-term bond on structural models. Double-sided tape for clean geometric shapes where you want speed and no warping. A glue stick works for lighter work. Avoid super glue — it dries too fast and makes repositioning impossible.
Can I use regular printer paper for papercraft?
For very simple flat crafts or practice runs, yes. But for any 3D papercraft model, regular 80gsm printer paper is too flimsy — it won’t hold structure and will warp badly when glued. Stick to 160gsm–220gsm cardstock for reliable results.
Is papercraft the same as origami?
No — and it’s a common mix-up! Origami relies purely on folding a single uncut sheet. Papercraft craft combines printed templates with cutting, scoring, and gluing to build complex 3D structures. They’re both paper-based, but the tools, techniques, and results are quite different. See the comparison table above for a full breakdown.
✦ ✦ ✦
IX. Conclusion
Papercraft craft is one of those rare hobbies that rewards patience with something genuinely beautiful — and costs almost nothing to start. Whether you’re folding a simple low-poly animal on a rainy afternoon or reinforcing a full-scale Pepakura helmet for a convention, the fundamentals are the same: the right cardstock weight, clean scoring with a bone folder, precise cuts, and patient assembly from the smallest parts out.
You’ve now got the roadmap. The types. The toolkit. The steps. The templates. The fixes for when things go sideways (and they will — that’s part of it).
The only thing left is to actually make something. So print a template, grab your knife and mat, and see what you can build from a flat sheet of paper. You might be surprised.
Ready to Start Crafting?
Download our free beginner’s papercraft template — a simple geometric fox perfect for your very first build. No signup required.⬇ Download Free Template💬
Miku papercraft