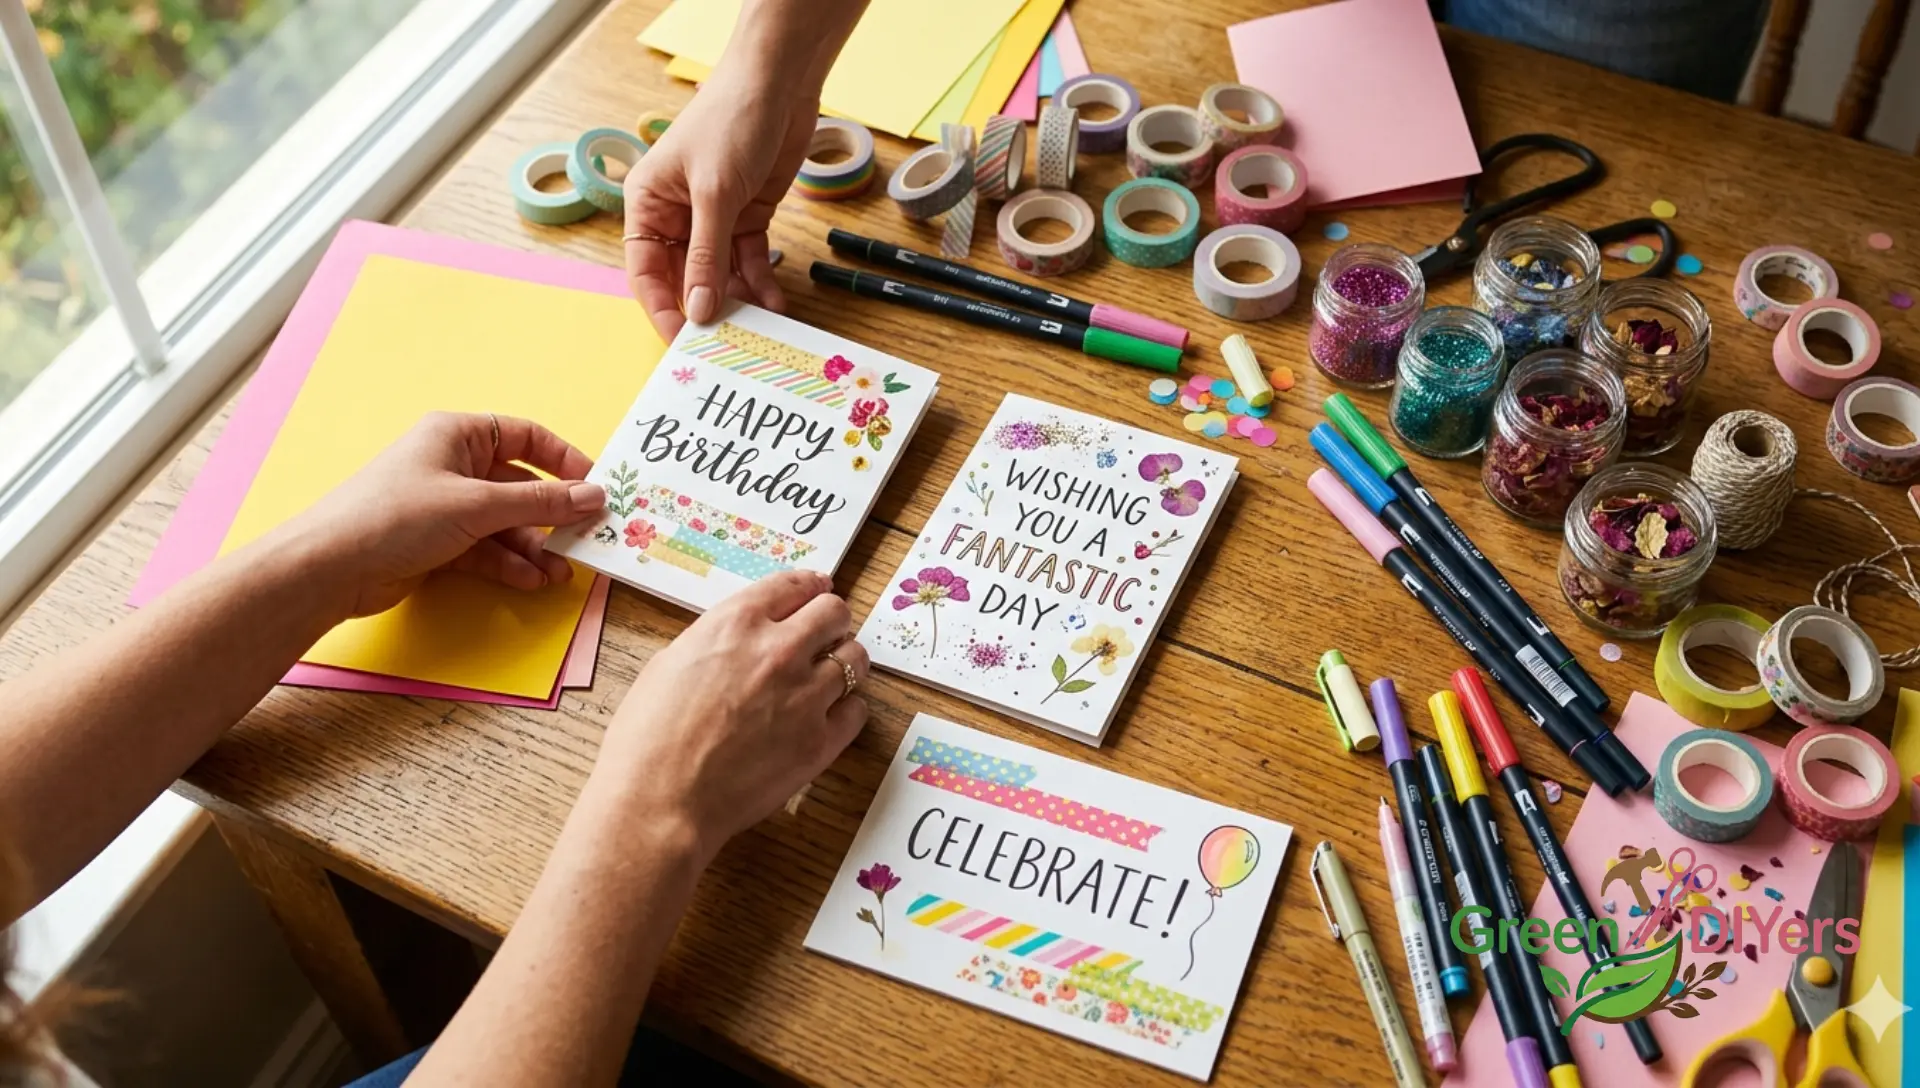
Birthday Card Craft [50+ Easy Ideas for 2026]
Stop spending $8 on generic store cards. Whether you have 5 minutes or a full afternoon, these birthday card craft ideas use household items to create keepsakes they’ll actually save — not toss in a drawer and forget. From toddler-friendly fingerprint fun to jaw-dropping pop-up designs, this is the only guide you’ll ever need.
Let’s make something worth keeping.
Table of Contents
- Trending Aesthetics in Handmade Cards
- Interactive & 3D Pop-Up Cards (The “Wow” Factor)
- Birthday Card Crafts by Age Group
- The “Junk Drawer” Challenge: Cards from Household Items
- Supply Checklist & Pro Tips
- FAQ

Trending Aesthetics in Handmade Cards {aesthetics}
Here’s something the big craft blogs won’t tell you: the look of a card matters just as much as the technique. Before you pick up a glue stick, it helps to know what style you’re going for. These three aesthetics are dominating handmade card communities right now — and they’re all achievable at home.
The “Scrapbook Aesthetic”
Think layered textures, torn paper edges, washi tape strips, and that perfectly imperfect charm of a junk journal. This is the aesthetic handmade cards trend that’s been all over Pinterest for the past two years, and it has zero signs of slowing down.
The magic of this style? It actually rewards imperfection. Wrinkles, uneven cuts, and mismatched patterns look intentional. You can build a stunning card using:
- Torn magazine pages as background layers
- Washi tape borders in contrasting patterns
- Vintage-looking stamps or hand-lettered text
- Twine, dried flowers, or fabric scraps for texture
Time required: 20–40 minutes
Minimalist Line Art
Grab a single black fine-tip marker and a white card blank. That’s genuinely all you need. Minimalist line art is having a massive moment because it looks expensive without requiring any artistic talent — just confident lines and intentional white space.
Try: a simple birthday cake outline with a single candle, a tiny balloon cluster, or abstract flowing lines with a handwritten “happy birthday” in the center. The trick is to resist the urge to fill every inch of space. The emptiness is part of the design.
Time required: 10–20 minutes
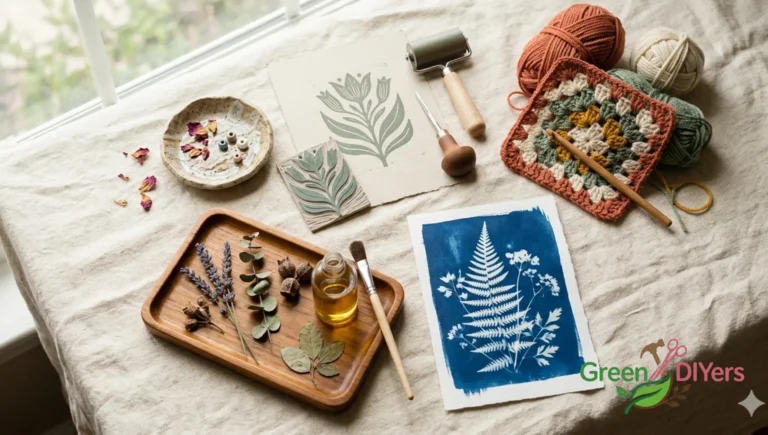
Eco-Friendly & Upcycled Cards
If you want your birthday card craft to tell a story before it’s even opened, make it from something unexpected. Wildflower seed paper (which the recipient can actually plant!) is available online for a few dollars and doubles as the card itself. Or try botanical “ink” — crushed blueberries, beet juice, or turmeric paste brushed onto recycled cardboard.
These aren’t just aesthetically beautiful. They’re conversation starters.
Time required: 30–60 minutes (plus drying time)
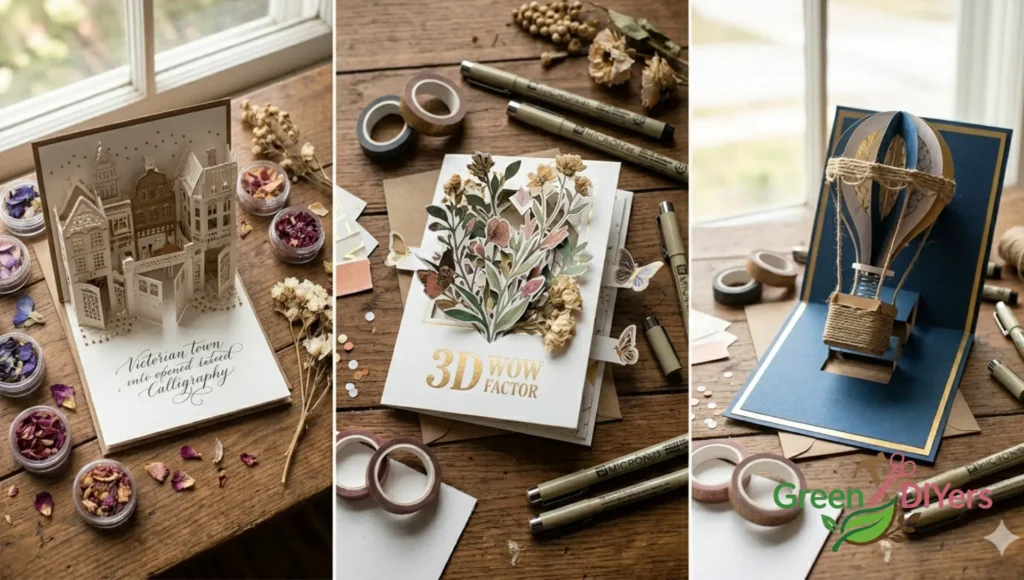
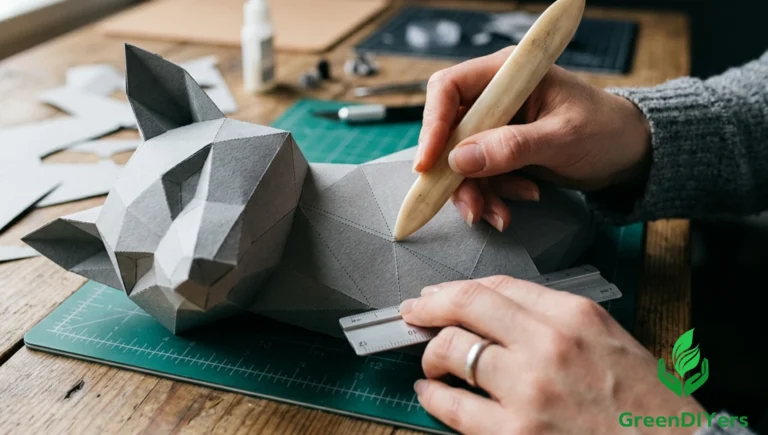
Interactive & 3D Pop-Up Cards (The “Wow” Factor) {popup}
Ready to make someone genuinely gasp when they open their card? These designs look complex but are built on a few simple folding techniques. Once you learn the basics, you’ll never buy a flat card again.
The 3D “Melting” Cake Pop-Up
This is the viral pop-up cake design you’ve probably seen floating around craft TikTok. Here’s how to make it:
- Fold a piece of cardstock in half lengthwise to form your base card.
- Cut a second piece of cardstock into a simple layered cake silhouette — two or three rounded tiers, slightly wider at the bottom.
- Score and fold the cake shape accordion-style horizontally (three folds create three “layers”).
- Glue only the back panel of the cake to the inside back of the card, and the front panel to the inside front.
- Decorate each tier differently: striped, dotted, floral.
- When the card opens, the cake literally pops up and unfolds into three dimensions.
Add a tiny candle cut from yellow paper at the top and you’ve got a showstopper.
Time required: 30–45 minutes
Z-Fold & Triple Panel Cards
The Z-fold (or “zigzag fold”) creates a card that stands upright on a mantle like a little display piece — which means your birthday card craft becomes home décor, at least for a few weeks.
Fold a single piece of cardstock into three equal panels. The front panel is your cover design. The middle panel is a hidden message or photo. The back panel is a full illustration or pattern. Tied with a thin ribbon, this makes a gift that feels far more thoughtful than anything from a rack.
The “One Sheet Wonder”
This technique is pure efficiency. Take one 12×12 sheet of patterned scrapbook paper and follow these cuts:
- Two 6×4 card bases
- One 4×4 square card
- Three 3×4 mini cards
That’s six coordinating cards from a single sheet. Use coordinating plain cardstock for the interiors and you have a matched set that looks like it came from a boutique stationery shop.
Birthday Card Crafts by Age Group {age-groups}
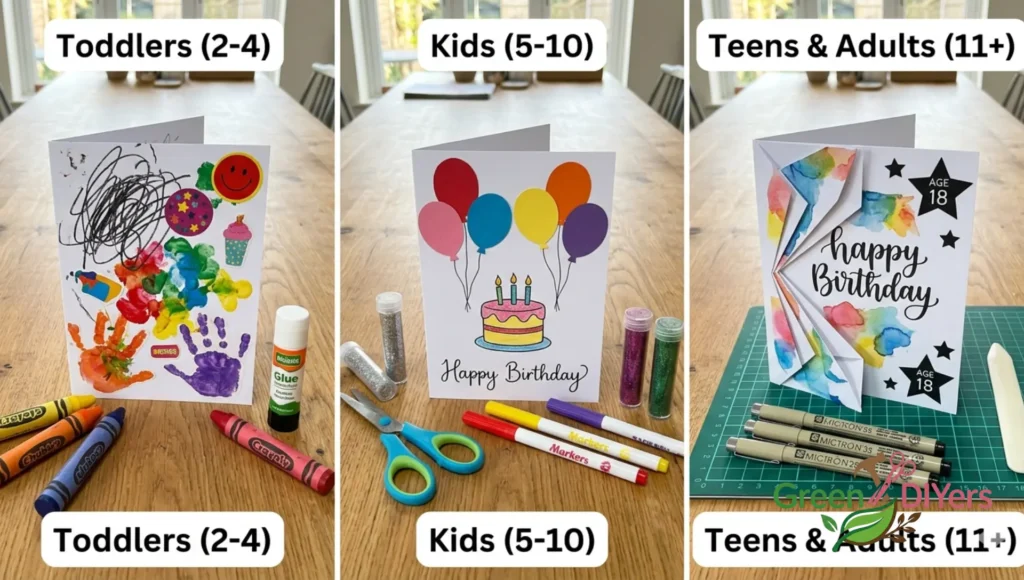
One of the biggest mistakes in DIY birthday cards for kids content is treating all ages the same. A toddler and a teenager have wildly different needs — here’s how to match the craft to the maker.
Toddlers & Preschoolers (Ages 2–5)
Keep it tactile, keep it simple, keep it easy to clean up.
- Fingerprint balloons: Dip fingers in paint, press onto paper to create balloon clusters, and draw on strings with a marker once dry.
- Dot marker cakes: Use those chunky dot markers (or the eraser end of a pencil dipped in paint) to build a layered cake shape dot by dot.
- Mess-free sensory bags: Fill a zip-lock bag with hair gel and glitter, tape it shut, and seal it to the inside of a card. The recipient squishes the gel around to “decorate” the card surface. Yes, adults love these too.
🍎 Teacher’s Tip: These activities build fine motor skills and bilateral coordination — both critical for early writing readiness.
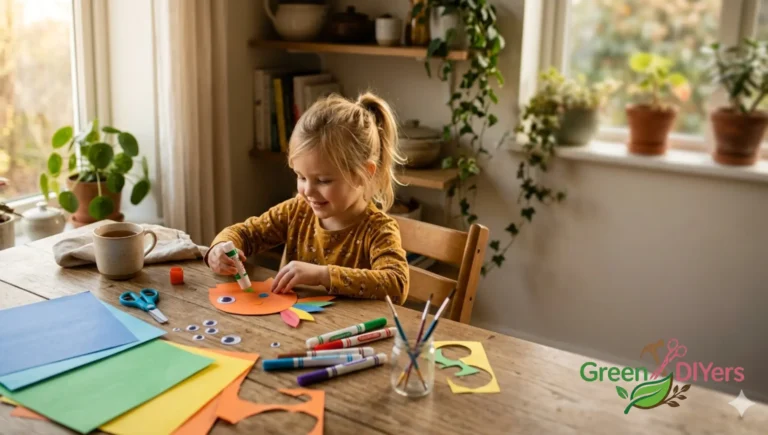
Elementary Kids (Ages 6–12)
This age group is ready for a challenge and loves anything with a “secret” element.
- Perler bead cards: Iron a simple pixel-art design (star, heart, birthday cake) and glue it directly onto a card blank. It becomes a small keepsake the recipient can display.
- Accordion-fold snakes: Fold two strips of paper over each other repeatedly to create an accordion. Glue it inside a card so a playful snake pops out when opened.
- Invisible ink messages: Write a hidden message with a white crayon, then invite the recipient to reveal it by painting over the card with watercolor. The message appears like magic.
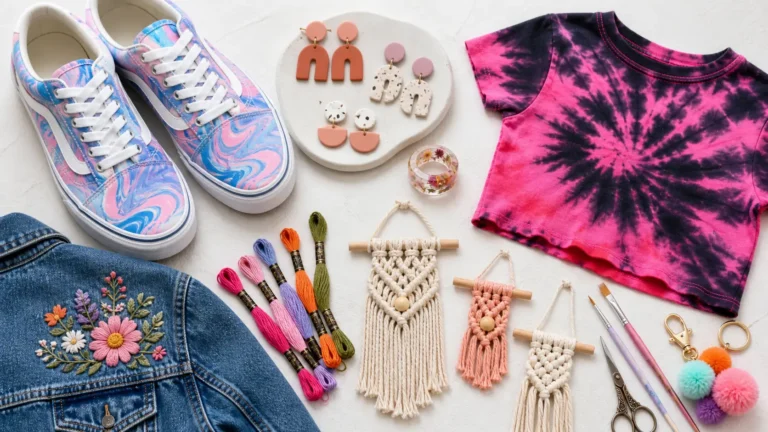
Teens & Adults
This is where your aesthetic handmade cards game truly elevates.
- Pressed flower designs: Press flowers and leaves between heavy books for 2–3 weeks, then arrange them on a card blank and seal with Mod Podge. The result looks like botanical artwork.
- Embroidery on cardstock: Punch a simple design through cardstock with a needle, then stitch through the holes with embroidery thread. A single running stitch outline of a flower or balloon is enough.
- Polaroid-style photo cards: Print a small square photo, add a white border on all sides and a wide white border at the bottom (just like an actual Polaroid), and write a message in the bottom strip. Attach several of these to the card’s interior as a mini gallery.
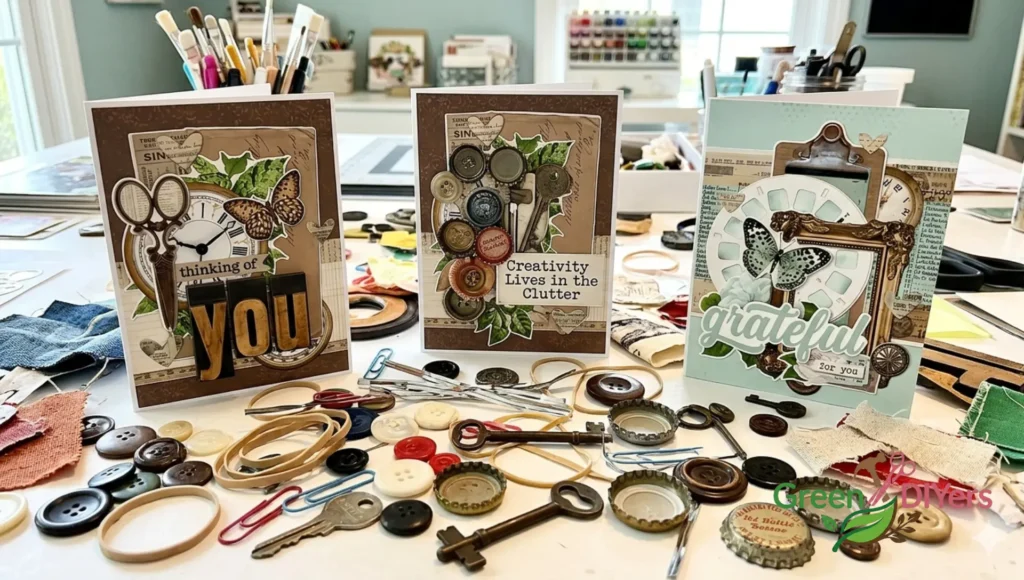
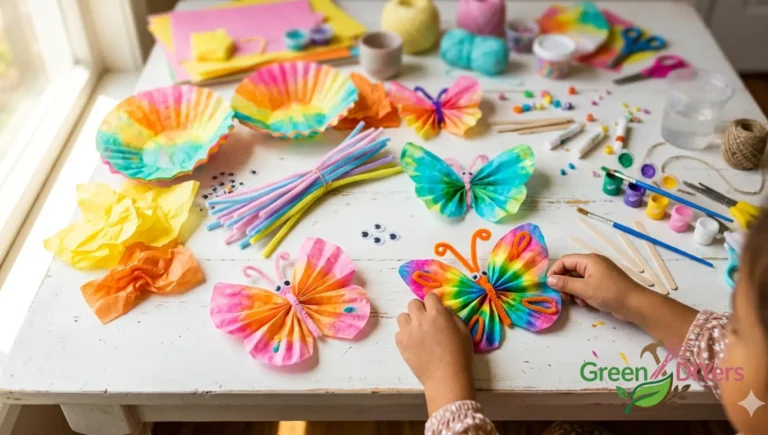
The “Junk Drawer” Challenge: Cards from Household Items {junk-drawer}
Let’s be honest — sometimes you wake up and realize someone’s birthday is today. This section is for that exact panic. Every item below is probably within reach right now.
Buttons: Arrange mismatched buttons in a bouquet or balloon cluster shape and glue them down. Instantly charming.
Pasta (painted gold): Bow-tie pasta and penne make incredible textural elements. Spray them gold or bronze, let them dry, and arrange them as a crown, a star, or a frame around a handwritten message.
Magazine clippings: Cut out bold individual letters from magazine headlines to spell “HAPPY BIRTHDAY” in ransom-note style. It’s a classic for a reason — it’s funny, it’s personal, and it takes about 8 minutes.
Tissue paper pom-poms: Fold a small square of tissue paper accordion-style, pinch the center, and fan it out. Glue several onto a card in different colors for a party-ready burst of texture.
The “junk drawer” approach isn’t a compromise. Half the time, these cards get more compliments than the carefully planned ones.
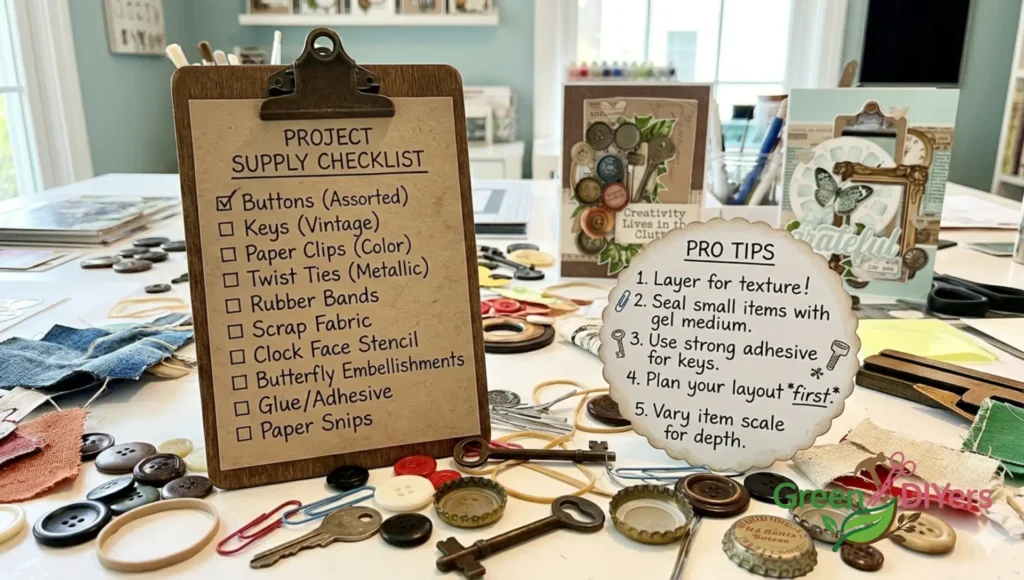
Supply Checklist & Pro Tips {supplies}
You don’t need a craft room full of supplies to make stunning birthday card crafts. Here’s what’s genuinely worth having:
The Essentials
- Card blanks + envelopes (buy a pack of 50 — you’ll use them)
- Bone folder for crisp, professional folds (a butter knife works in a pinch)
- Fine-tip black markers in at least two thicknesses
- Washi tape — two or three rolls covers every aesthetic
- Mod Podge for sealing and decoupage work
- Foam adhesive squares for adding dimension to layered elements
What’s the Best Glue That Won’t Wrinkle Paper?
Great question — and one that trips up a lot of crafters. Here’s the honest breakdown:
- Liquid glue (like Elmers): Causes wrinkling almost every time on thin paper. Avoid for card making.
- Glue sticks: Better, but weak. Fine for light paper layers, not for heavier embellishments.
- Tombow MONO Liquid Glue: The gold standard for paper crafts. Dries flat, bonds firmly, zero wrinkling.
- Double-sided tape: For clean, invisible bonds — especially on folded elements. Highly recommended.
- Foam squares: For raised, dimensional elements that add visual depth.
How to Mail 3D Cards Without Them Getting Crushed
This one matters. A beautiful pop-up card can arrive as a sad flat pancake if you don’t package it right.
- Place the card in its envelope without sealing it first.
- Slide the sealed envelope into a rigid cardboard mailer (not a soft padded one).
- Write “Do Not Bend — Handmade Card” clearly on the front.
- Alternatively, hand-deliver when possible. Some cards are just too good for the postal system.
FAQ {faq}
What materials do I need for a birthday card craft?
The basics are a card blank (or folded cardstock), a black marker, scissors, and glue. From there you can add washi tape, paint, photos, dried flowers, or anything from your junk drawer. Most of the birthday card craft ideas in this guide use items you already own.
What are aesthetic handmade cards?
Aesthetic handmade cards are designs that follow a specific visual style — like scrapbook, minimalist, botanical, or cottagecore. The goal is a card that looks intentionally designed rather than casually made. These styles are trending heavily in craft communities and make excellent DIY birthday cards for kids and adults alike.
How do you make a pop-up birthday card?
The easiest pop-up technique is the Z-fold: score and fold a single sheet into three panels, decorate each panel, and fold it accordion-style. When the card opens, the center panel pops forward. For the more dramatic 3D cake effect, follow the step-by-step guide in the pop-up section above.
How do you make a birthday card for a kid?
For young children, the best approach is sensory and finger-friendly: fingerprint balloons, dot marker cakes, or simple stamp designs. For school-age kids, try accordion folds, invisible ink messages, or perler bead decorations. Full instructions for each are in the age-group section above.
The Bottom Line
A birthday card craft is one of the rare things in life where effort is immediately visible and genuinely appreciated. Whether you spend 8 minutes with magazine clippings or 40 minutes building a layered pop-up cake, the person receiving it will know you thought about them specifically — not a generic rack of cards at the grocery store checkout.
That’s worth more than any $8 card. Every single time.
Happy crafting